Introduction
Today, we’re going to delve into the wonderful world of peas. From the delightfully sweet snap peas to the classic English garden peas, these little green gems are a must-have in any vegetable garden. In this post, we’ll share with you some tips and tricks for growing peas from seed to harvest. So, grab a cup of your favorite hot beverage, sit back, and let’s get started on our pea-sy journey!
Choose Your Pea Varieties
Before you dive into growing peas, it’s essential to know which varieties you want to grow. There are three main types of peas: shelling peas, sugar snap peas, and snow peas. Shelling peas are the ones you have to shell before eating, sugar snap peas are sweet and edible pods and all, and snow peas are those flat, tender pods you often find in stir-fries.
Each variety has its own unique taste, and some may be better suited to your climate than others. For example, if you live in an area with a shorter growing season, you might want to choose a faster-maturing variety. The key is to pick the right pea for your taste buds and your garden.
Sowing Pea Seeds
Now that you’ve chosen your pea variety, it’s time to get those seeds in the ground! Peas are a cool-season crop, which means they prefer cooler temperatures. Ideally, you should sow your seeds in early spring when the soil has warmed up to about 45°F (7°C). You can also plant peas in the fall for a late crop, depending on your region’s climate.
Here’s a step-by-step guide to sowing pea seeds:
a. Prepare the soil: Peas prefer well-draining, fertile soil with a pH of 6.0 to 7.0. Before planting, work some compost or well-rotted manure into the soil to improve its texture and fertility.
b. Create a planting trench: Dig a trench about 1-2 inches deep and sprinkle in some granular organic fertilizer. This will give your peas a good start by providing essential nutrients.
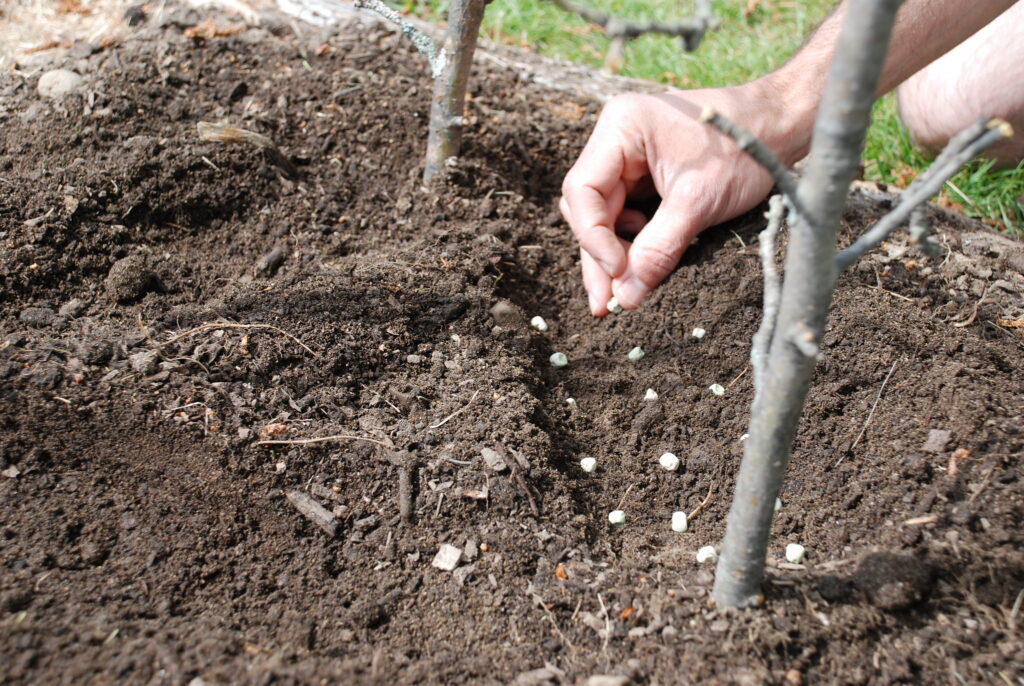
c. Sow the seeds: Place the pea seeds about 1-2 inches apart in the trench, and cover them with soil. Tamp down the soil gently to ensure good seed-to-soil contact.
d. Water thoroughly: Give your newly planted peas a good soaking to help the seeds germinate.
Support Your Peas
Most pea varieties need some sort of support to help them grow upwards and prevent the pods from touching the ground, where they may rot or be attacked by pests. You can use a variety of materials for pea supports, such as trellises, netting, or even simple twiggy branches. Whatever you choose, make sure your support is sturdy and tall enough to accommodate your pea variety’s mature height. Install the support shortly after planting to avoid disturbing the developing roots.
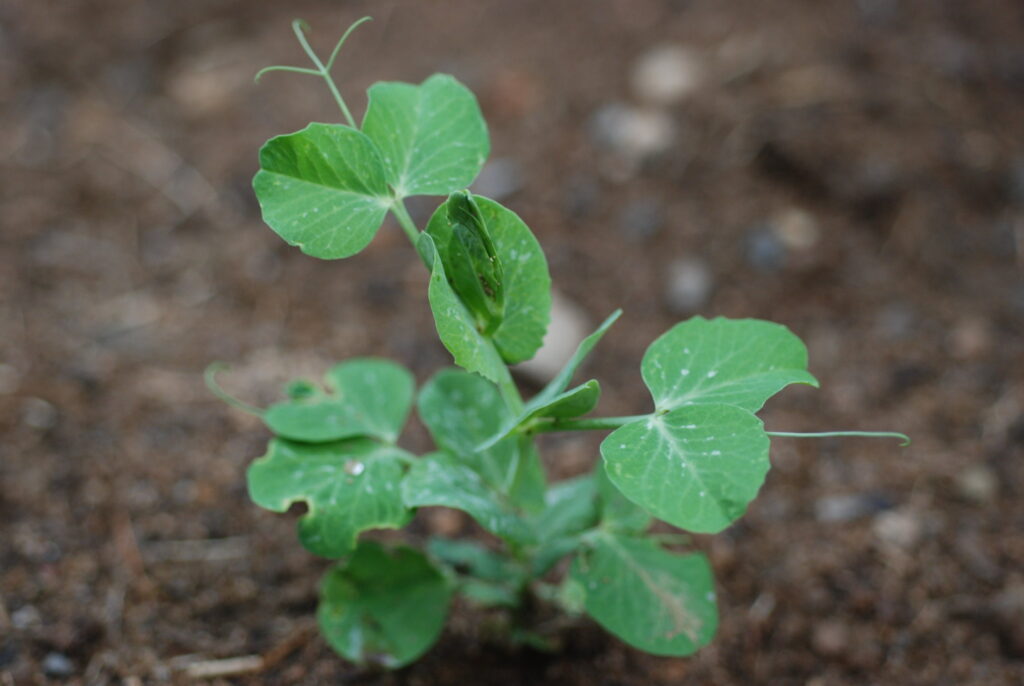
Care for Your Growing Peas
As your peas grow, they’ll need a bit of TLC to ensure a healthy and bountiful harvest. Here are some key tips to keep your peas happy:
a. Watering: Peas need consistent moisture, especially during flowering and pod development. Water your peas deeply once or twice a week, depending on your area’s rainfall and temperature. Be careful not to over-water, as peas can be susceptible to root rot.
b. Mulching: Applying a layer of organic mulch around your pea plants can help conserve moisture, suppress weeds, and keep the soil cool. Use materials such as straw, grass clippings, or shredded leaves.
c. Fertilizing: Peas are light feeders and usually don’t require additional fertilization after planting. However, if your soil is lacking in nutrients or you’re growing peas in containers, you may want to apply a balanced, organic fertilizer or side-dress with compost midway through the growing season.
d. Pest control: While peas are relatively pest-resistant, they can still fall victim to aphids, pea weevils, and other pests. Keep an eye on your plants and use organic methods, such as insecticidal soap or introducing beneficial insects like ladybugs, to control infestations.
e. Disease prevention: To prevent diseases like powdery mildew, ensure adequate airflow around your pea plants by not overcrowding them and watering at the soil level rather than overhead.
Harvesting Your Peas
The moment you’ve been waiting for has finally arrived – it’s time to harvest those delicious peas! The key to a successful harvest is picking the pods at just the right time for maximum flavor and tenderness.
a. Shelling peas: Harvest shelling peas when the pods are plump and full but before they become hard or starchy. Hold the vine with one hand and gently twist the pod off with the other to avoid damaging the plant.
b. Sugar snap peas: Pick sugar snap peas when the pods are fully formed and the peas inside are just beginning to swell. The pods should be plump, crisp, and bright green.
c. Snow peas: Harvest snow peas when the pods are flat and just barely starting to fill out. They should be tender and snap easily when bent.
Remember, the more you pick, the more peas your plants will produce, so be sure to harvest regularly! Enjoy your peas fresh from the garden, or blanch and freeze them to savor that sweet taste throughout the year.
Saving Pea Seeds
If you’d like to save seeds from your pea plants for next year’s garden, simply let a few pods mature fully on the vine until they turn brown and dry. Then, remove the seeds from the pods and store them in a cool, dry place until it’s time to plant again.
Conclusion
Growing peas from seed to harvest can be a fun and rewarding experience for gardeners of all skill levels. With a little planning, care, and patience, you’ll be well on your way to enjoying fresh, homegrown peas that are as nutritious as they are delicious. Happy gardening!