
People who like Belgian endive like it so much they grow it twice. In fact, they have no choice. Endive, perhaps the most famous member of the chicory family, is grown in two stages, once for the roots, and a second time for its yellow and white leaves. It is a particularly welcome member of the family in that it can produce crunchy salads throughout the entire winter if you grow enough roots. Belgian endive is known for its pleasantly bitter flavor that works well both raw and cooked. This educational pictorial will show you how to enjoy some of Belgium’s finest without leaving your own backyard.
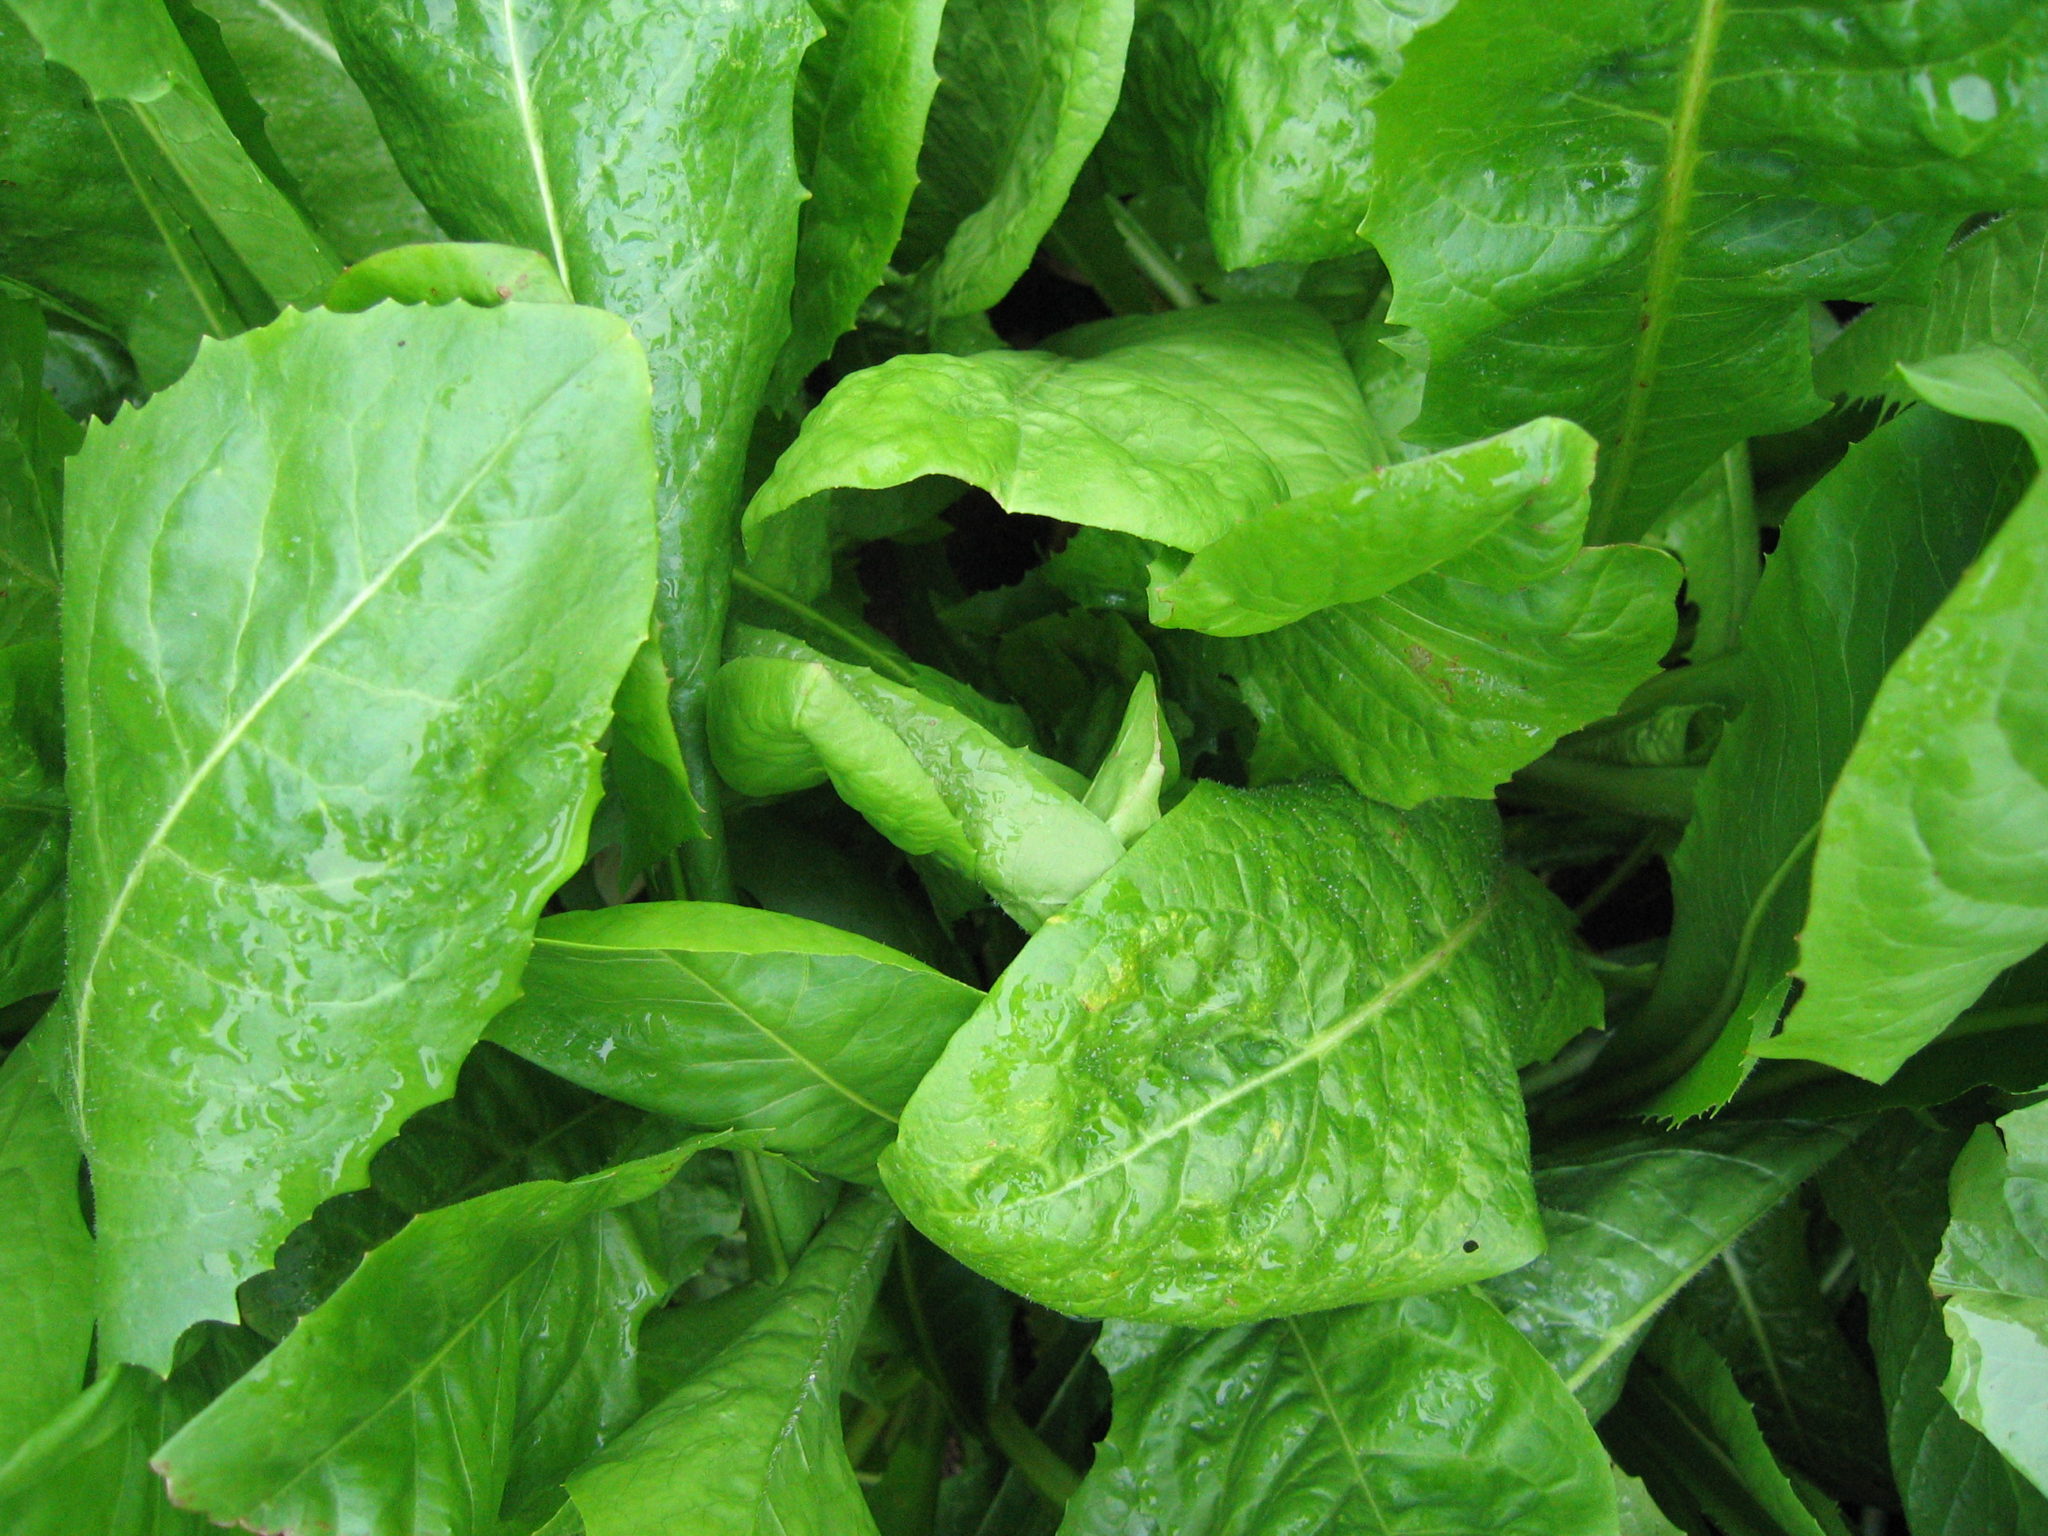
Step 1: Plant endive seeds in spring (early June, for most places) in rich soil, two rows per 30 inch (.76 meter) bed, 6 inches (15 cm) apart. Plants will grow upwards forming lush green foliage.
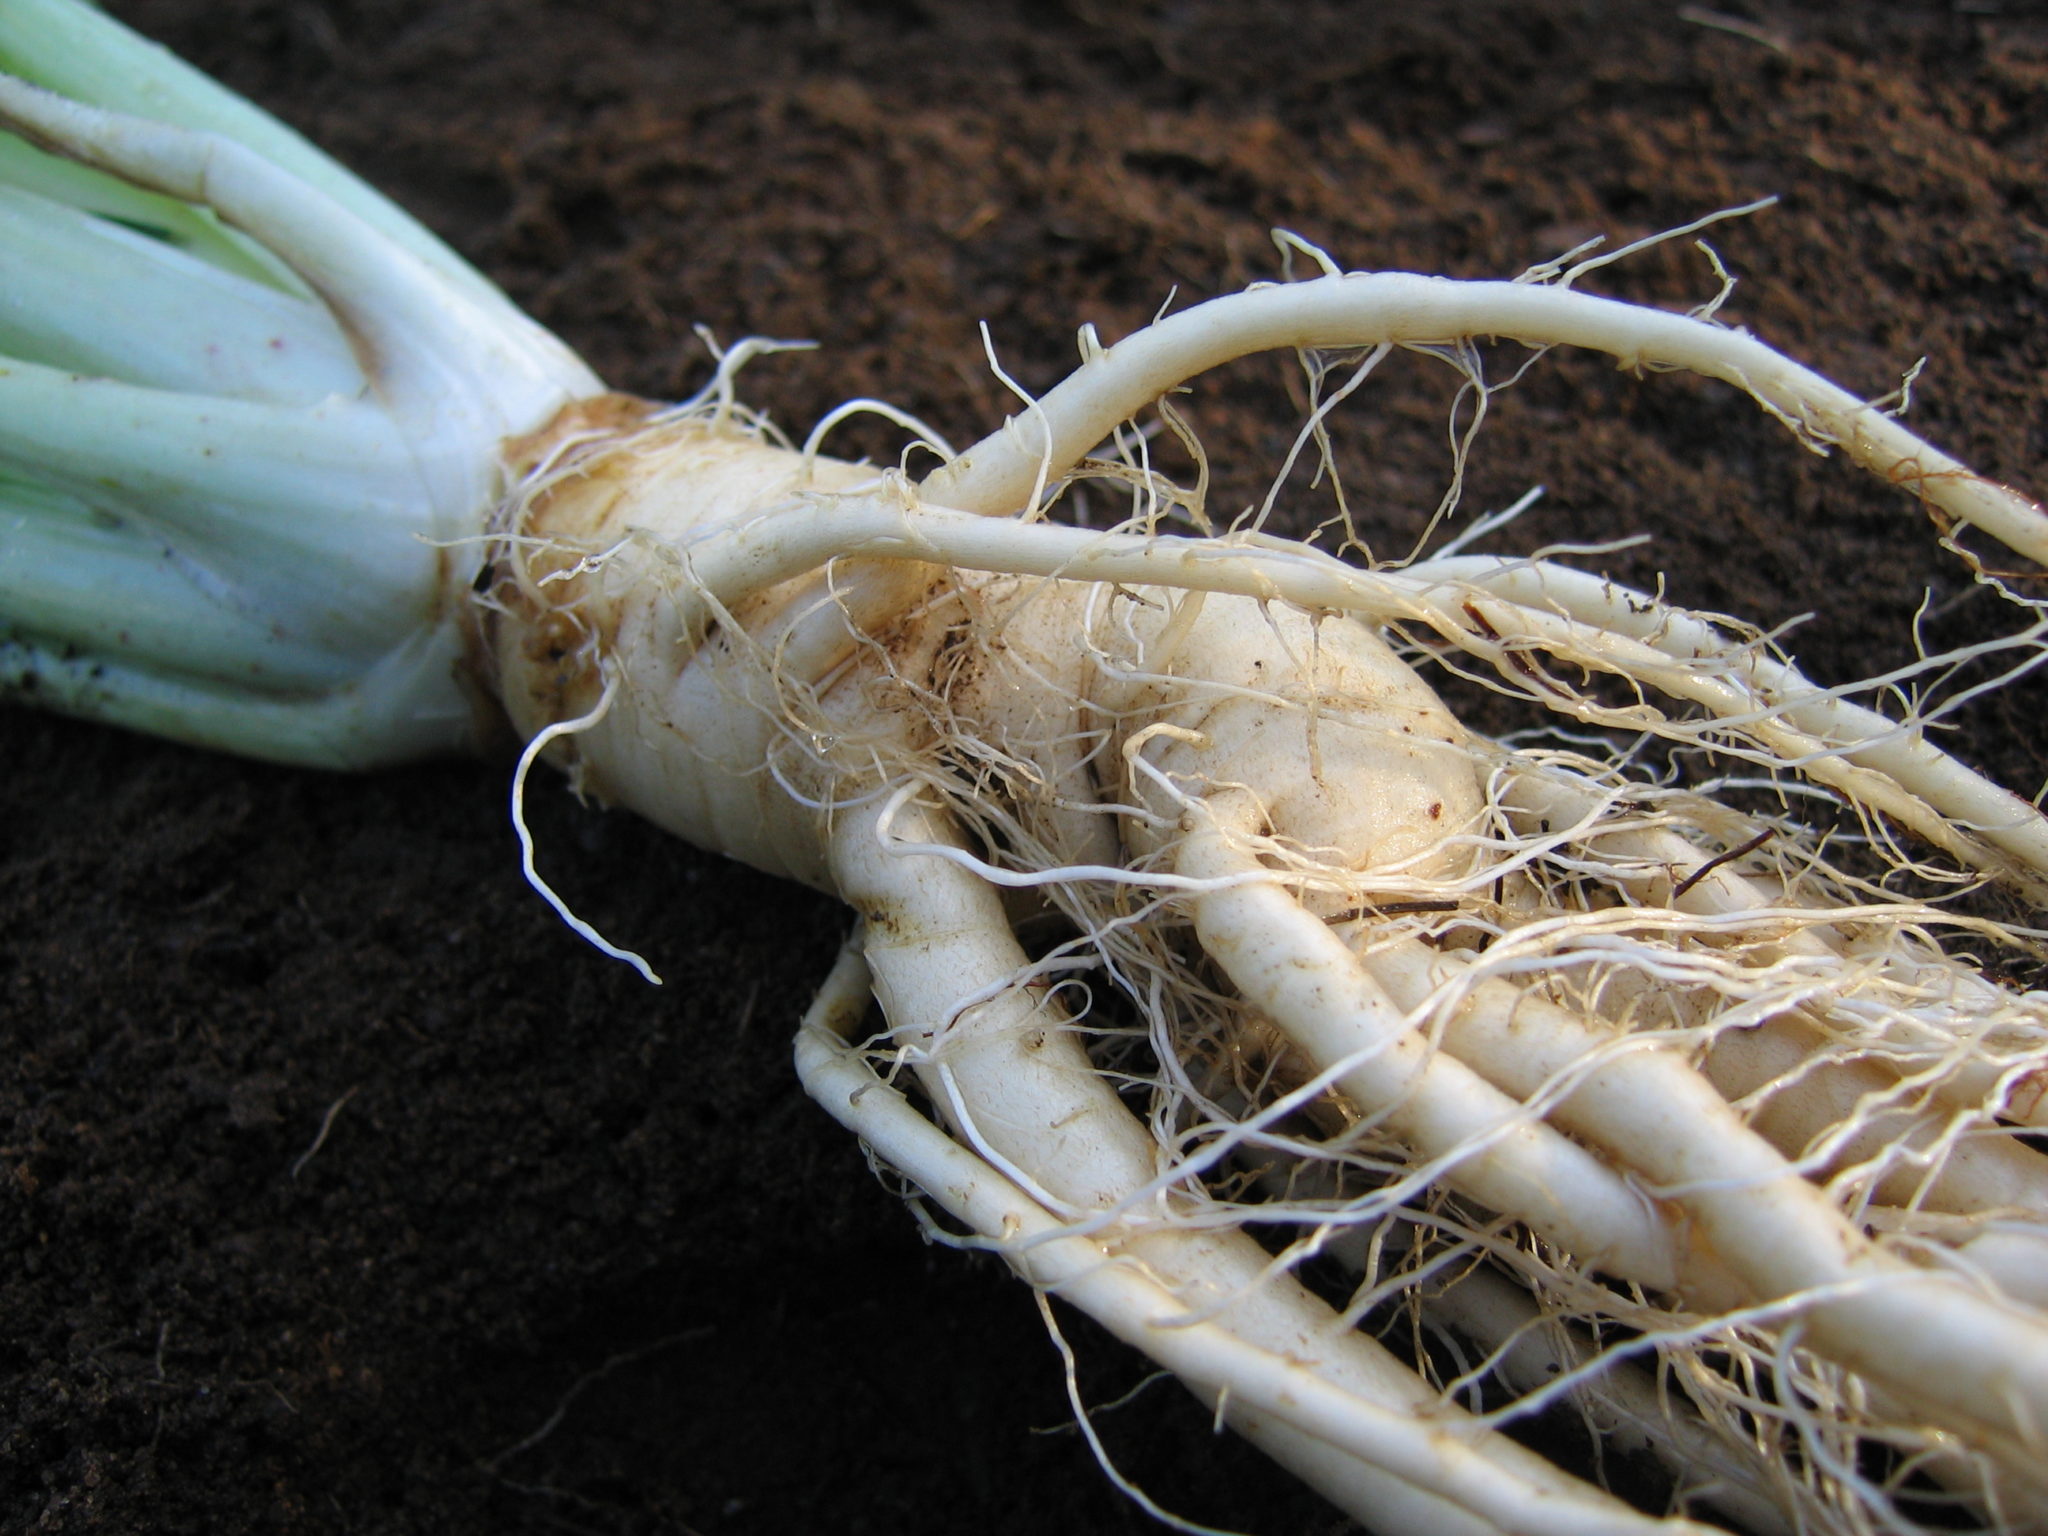
 Step 2: After 110-130 days, gently unearth the roots with a digging fork being careful not to break or damage them. They are the “business end” of the plant and the storehouse of energy for the second phase of growth.
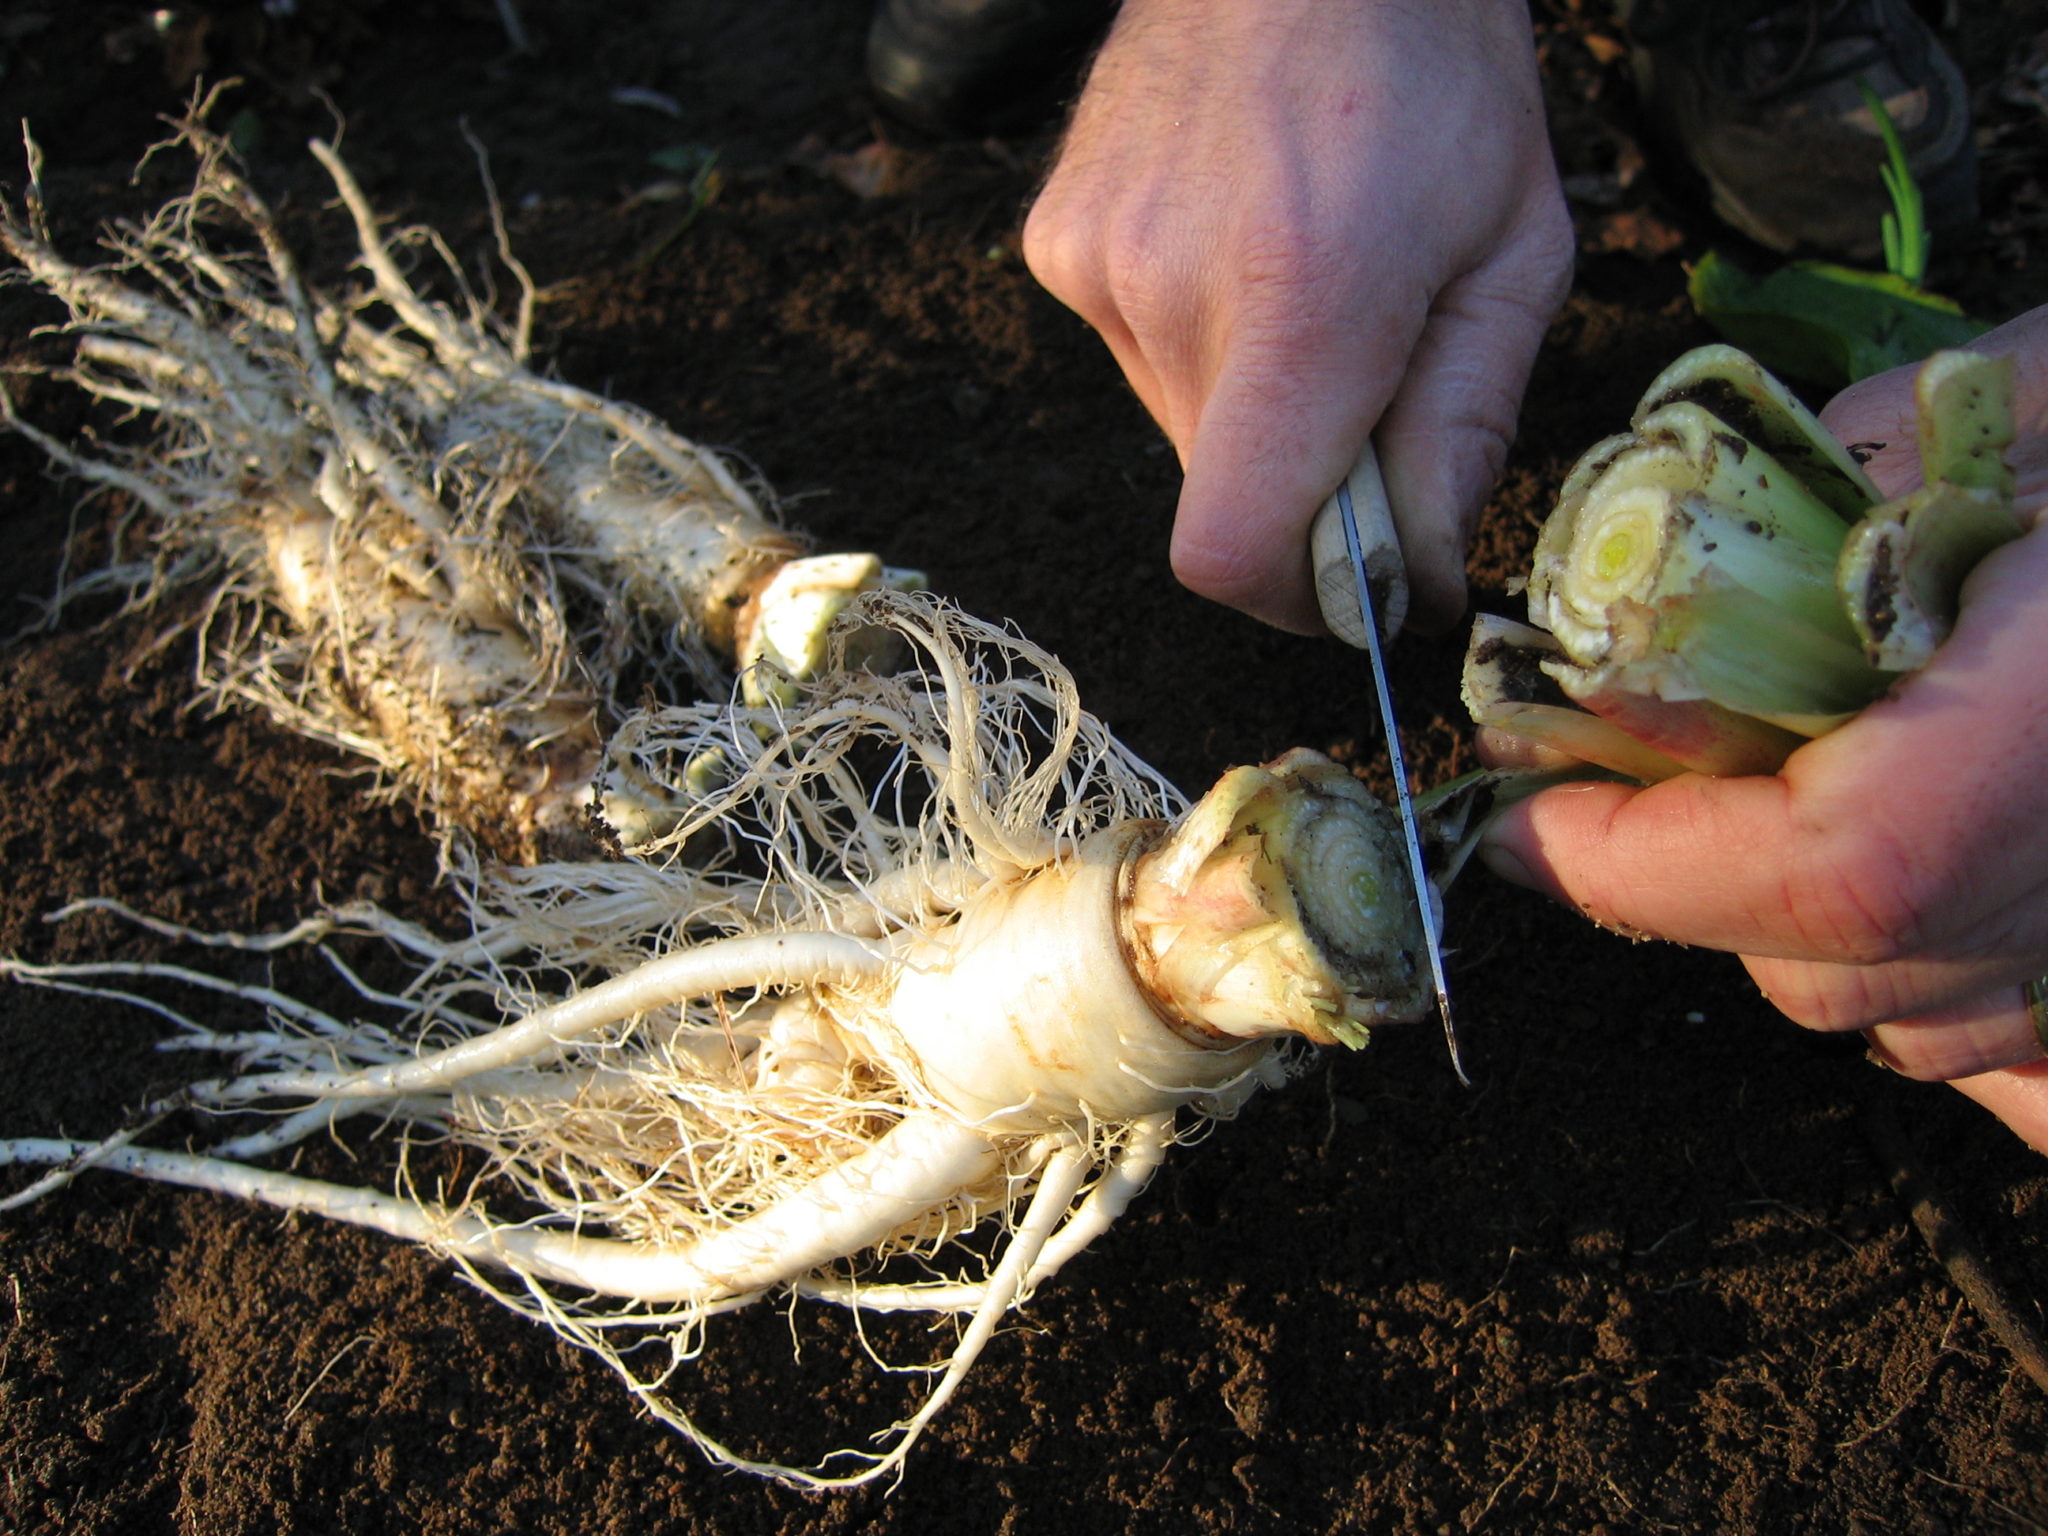
 Step 3: Cut off the leaves to within an inch or two (2-4 cm) or so and add feed the leaves to your nitrogen hungry compost pile.
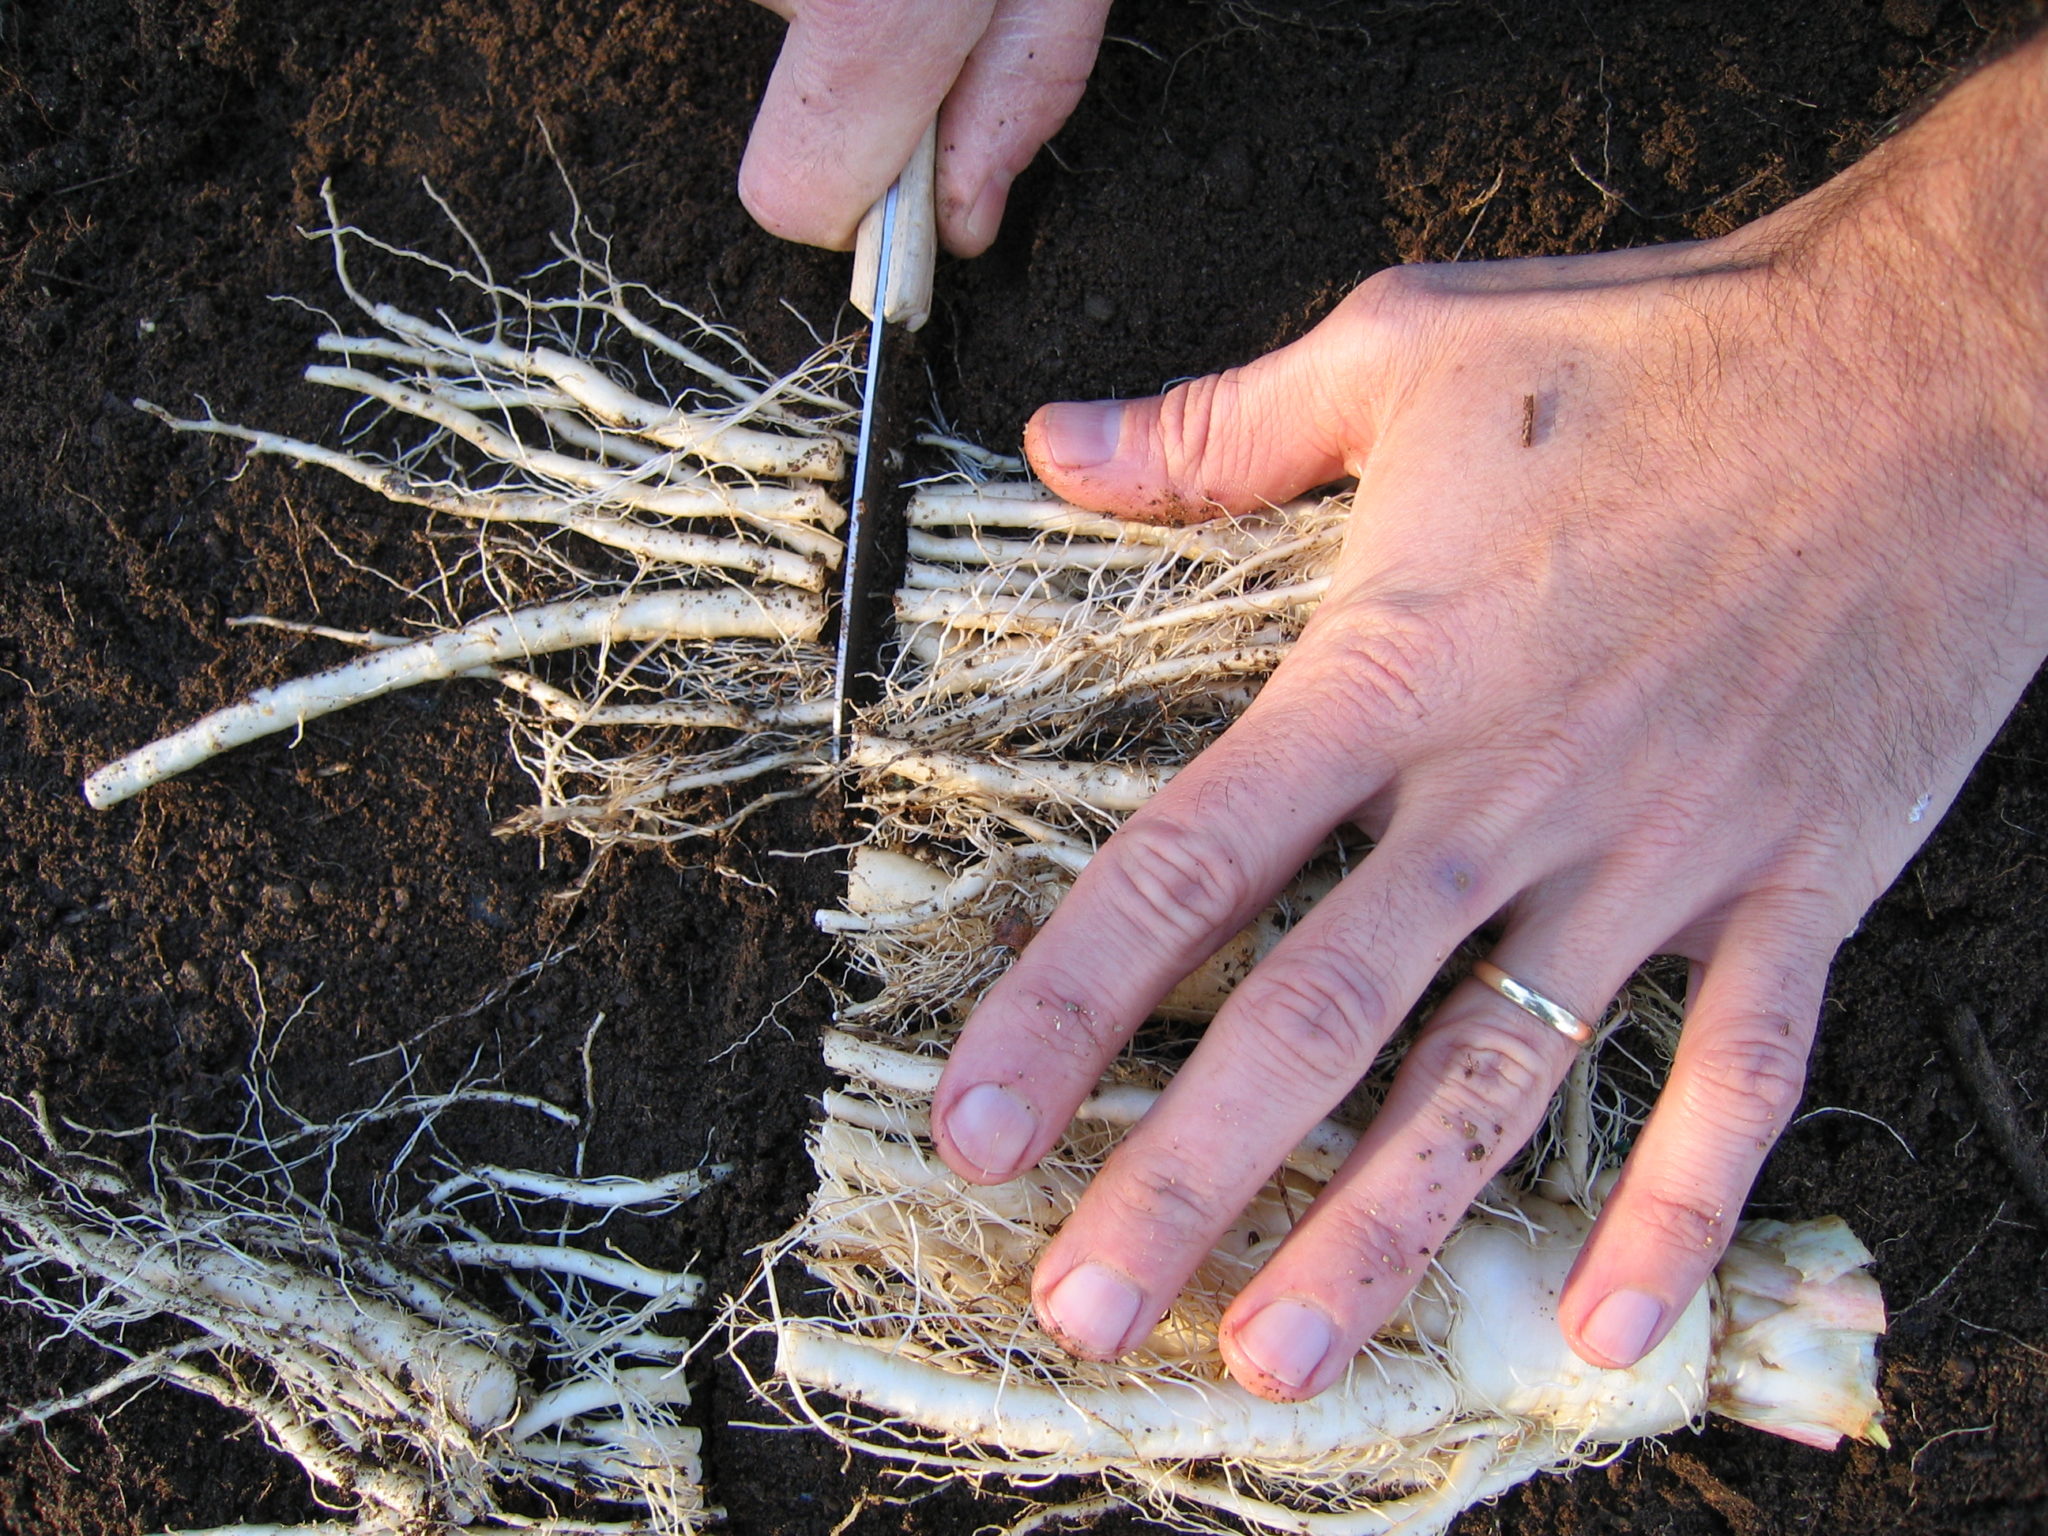
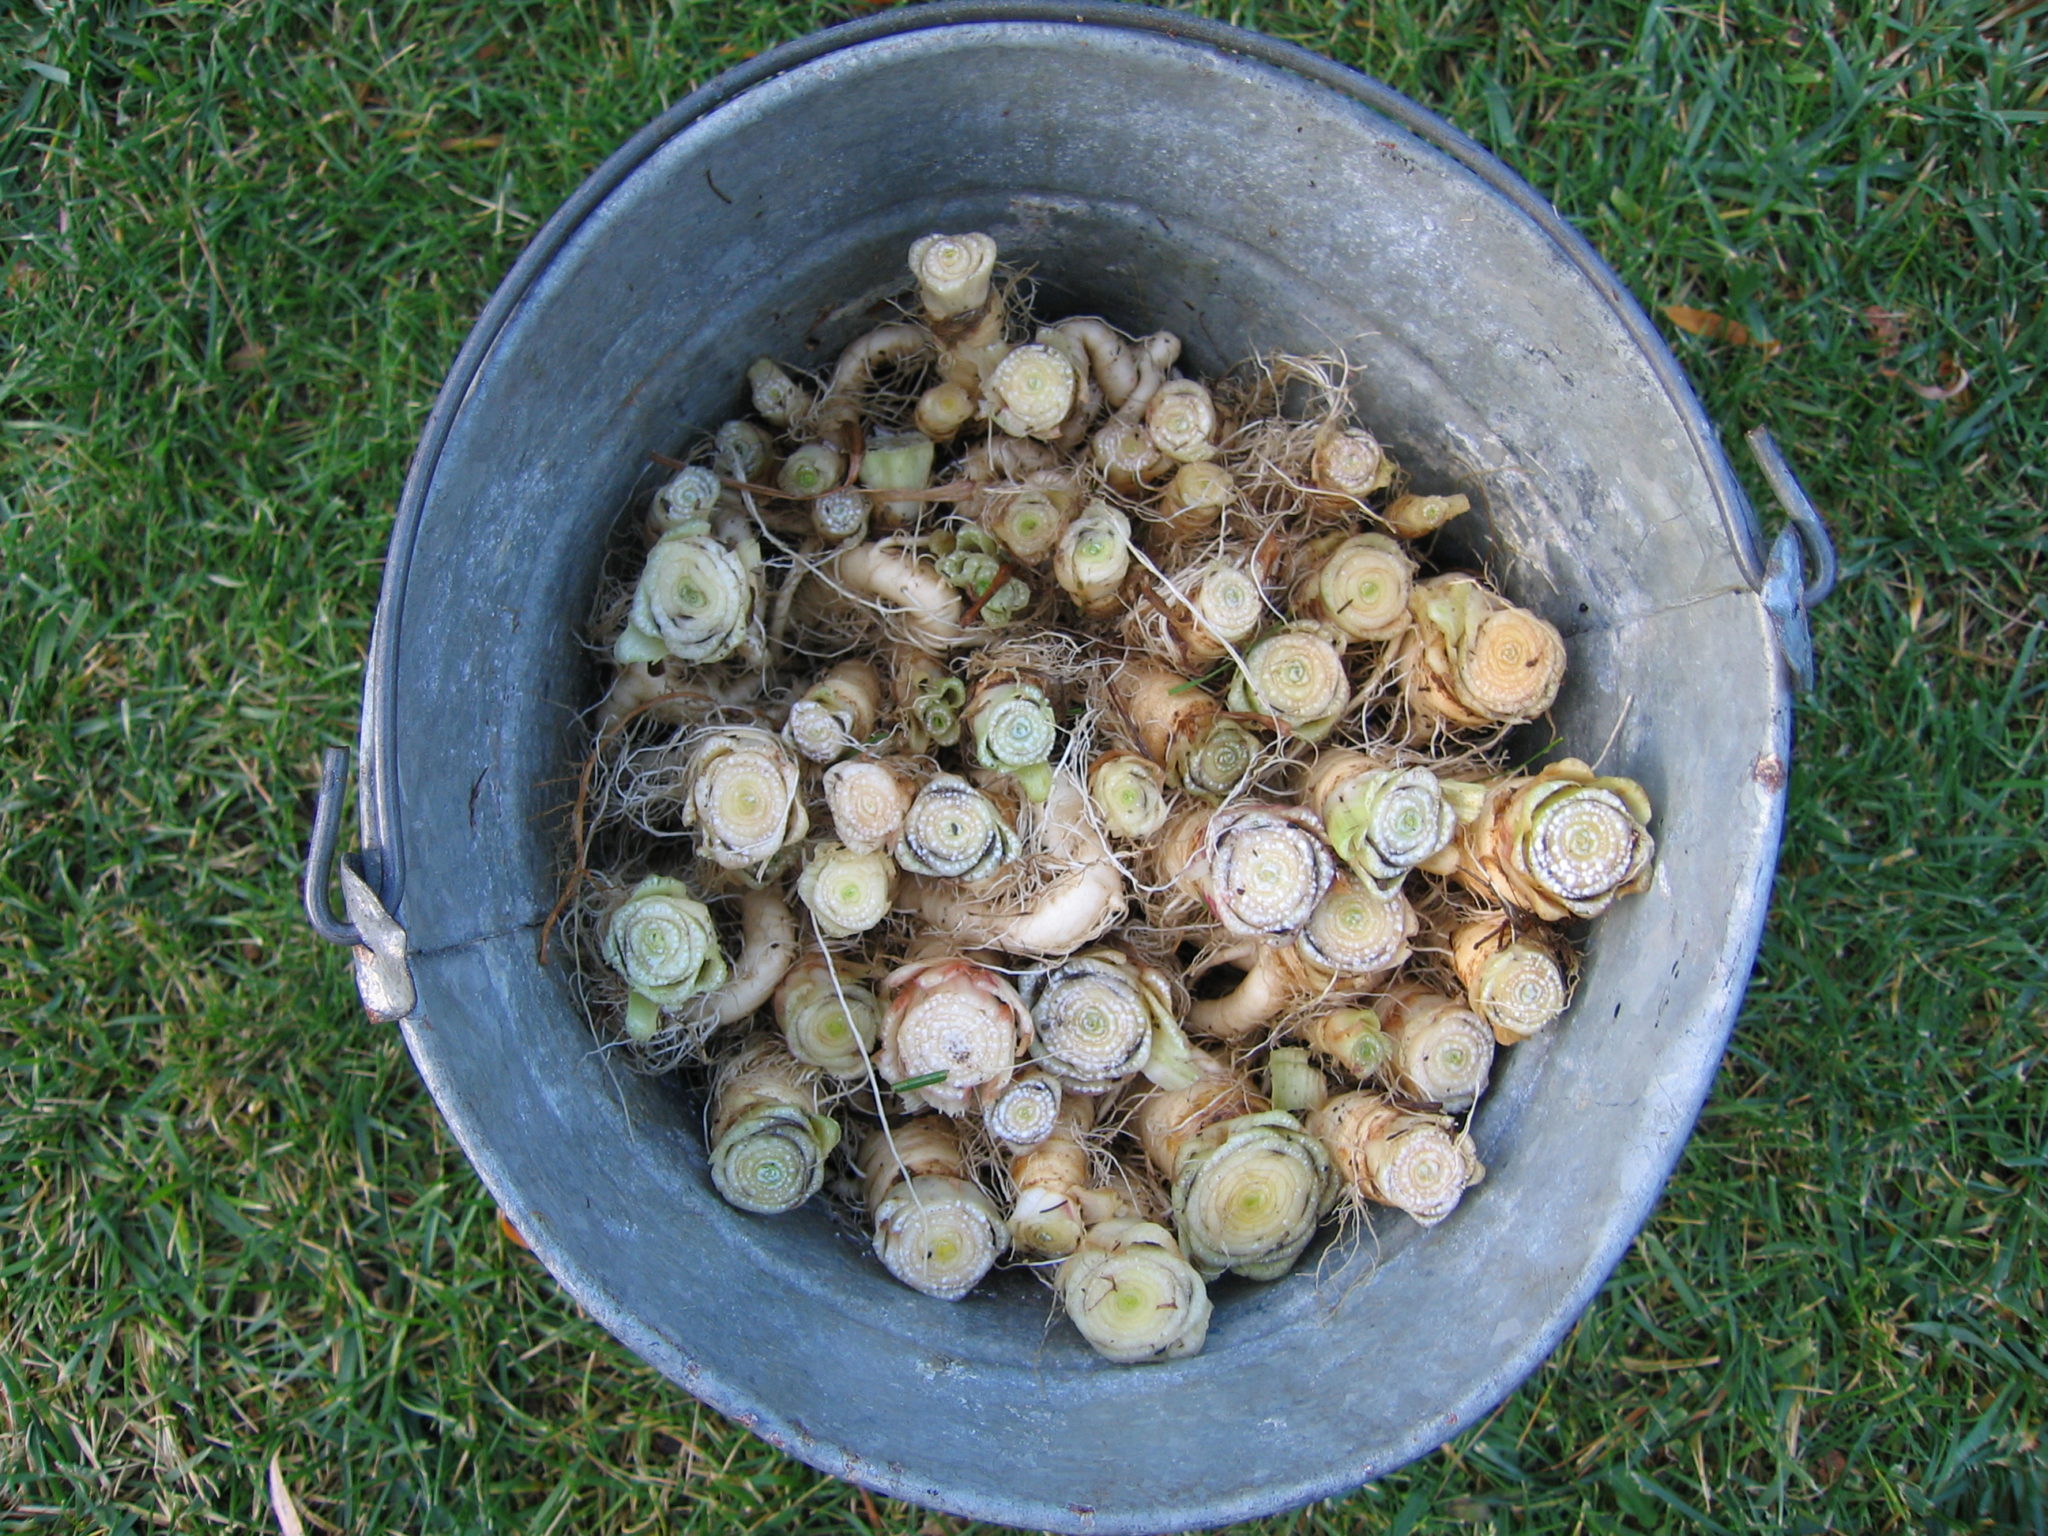
 Step 4: Trim the roots down to a uniform length of 6-8 inches (15-20 cm).
 Step 5: Pack the roots upright in a bucket or pail and fill around them with sand, if you have it, or loose sandy soil if you don’t. Regular soil or peat can also be used, but it is difficult to use for filling in the gaps. Cover and store pails in the coolest location available.
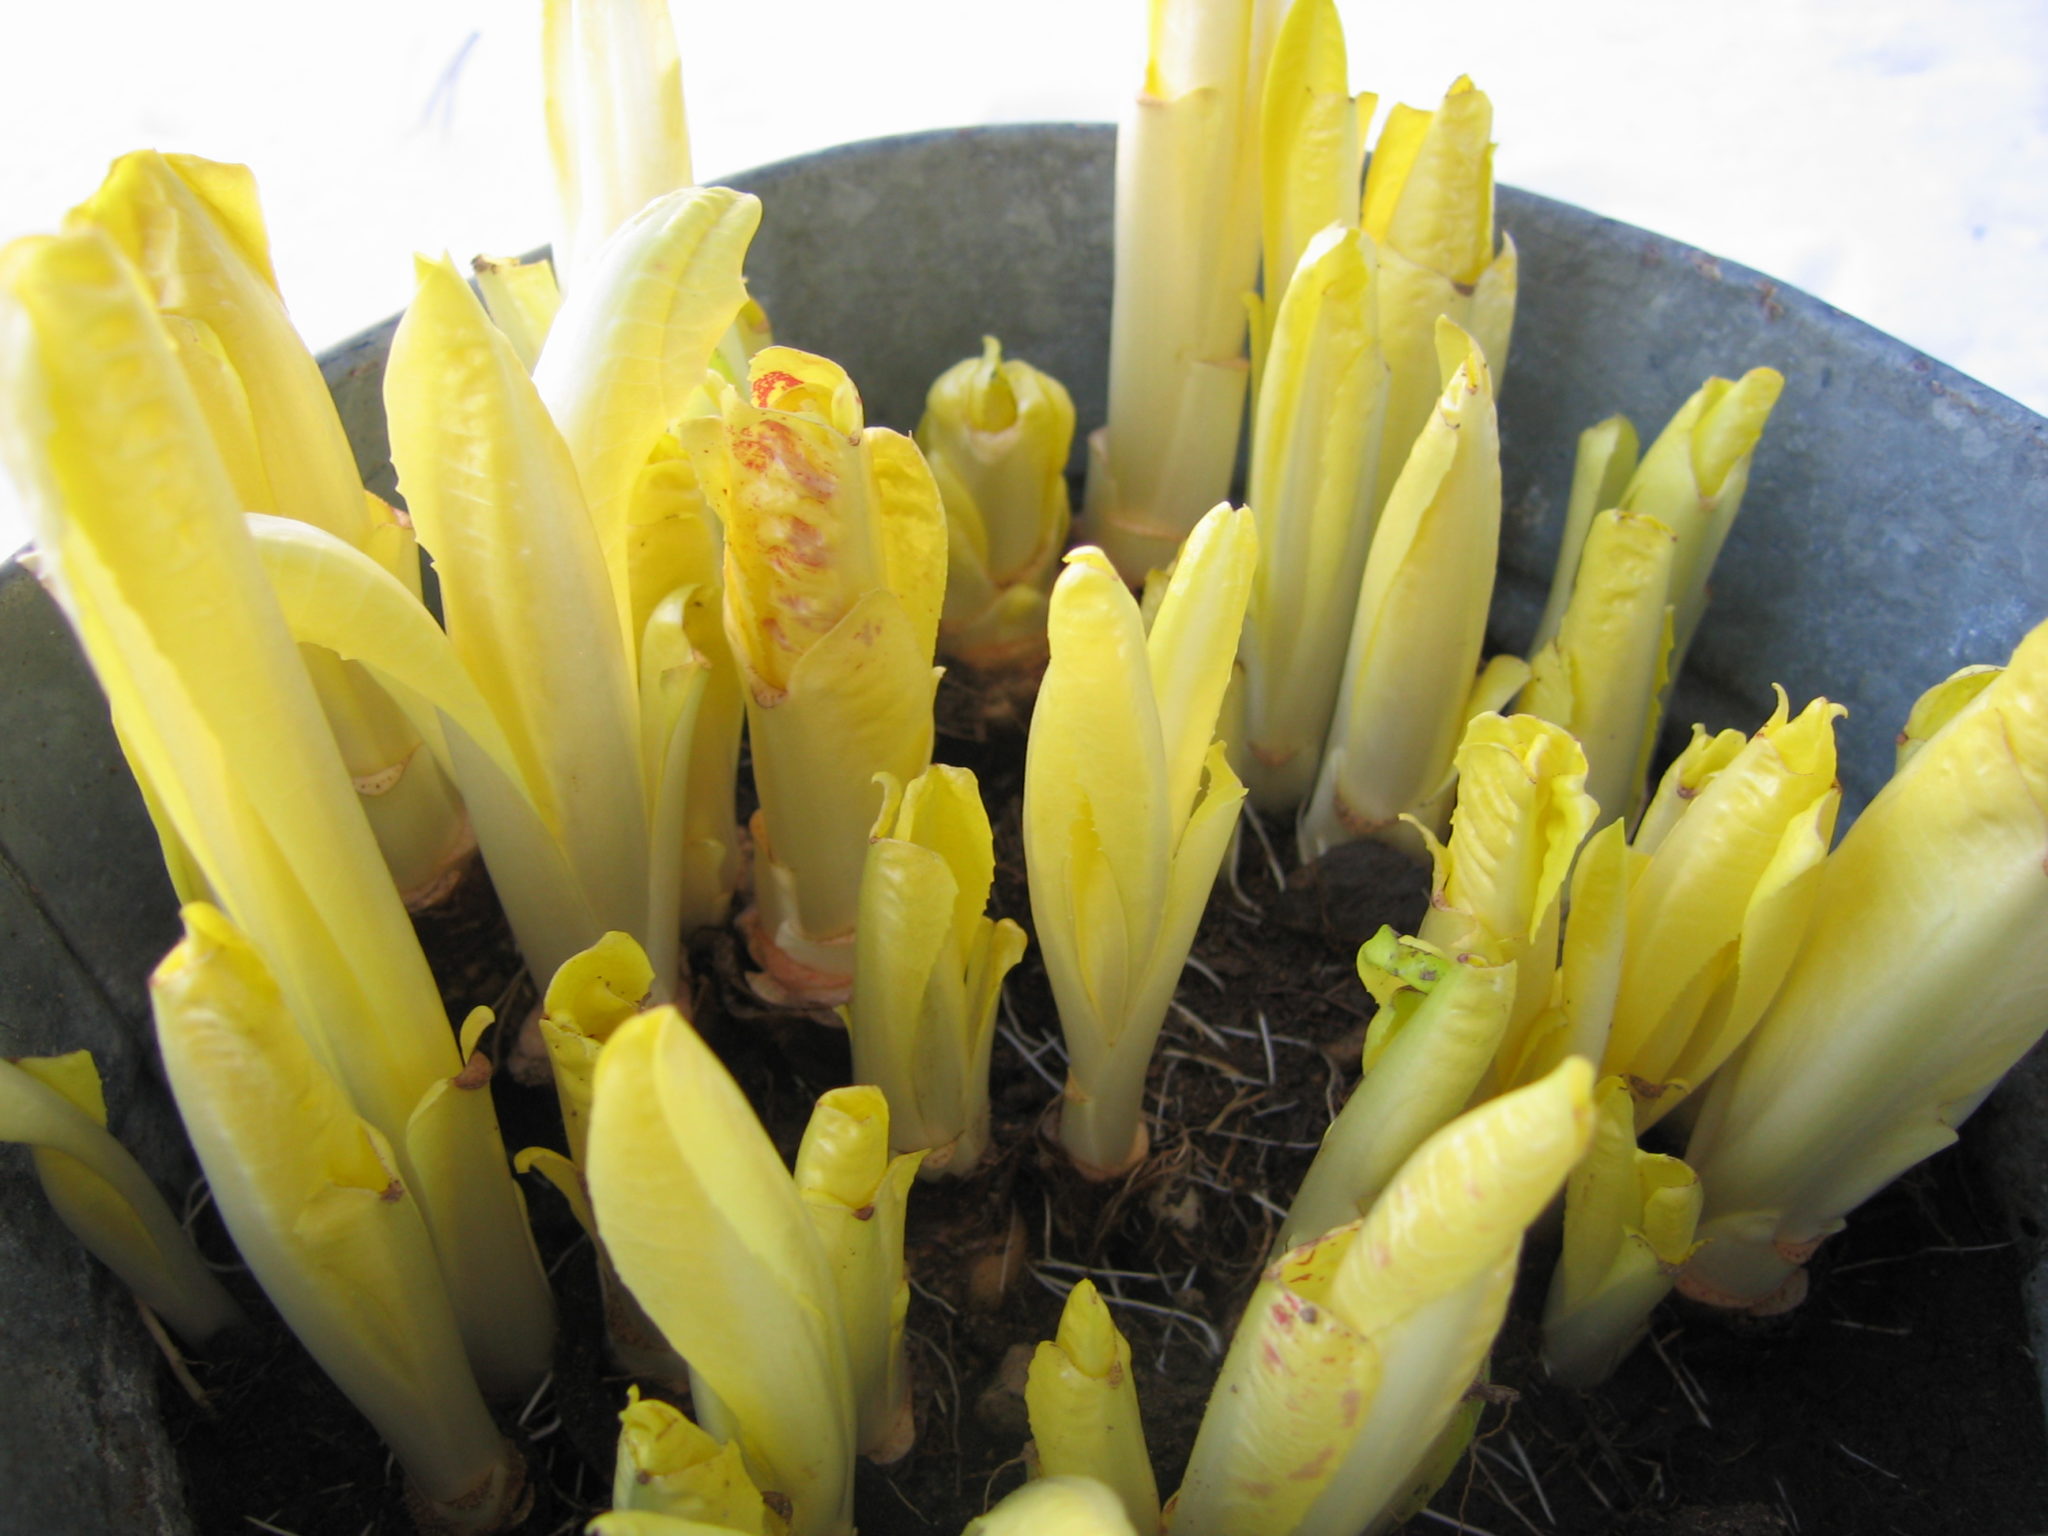
 Step 6. Three weeks before you want to enjoy your first endive feast, move the bucket to a 50-60 degree (10-15 celsius) location within your house adding water, if necessary. It’s better to have it too wet than too dry. Keep the bucket covered so as not to allow light through. This is what keeps the leaves white. Within a few days, new growth will begin to appear.
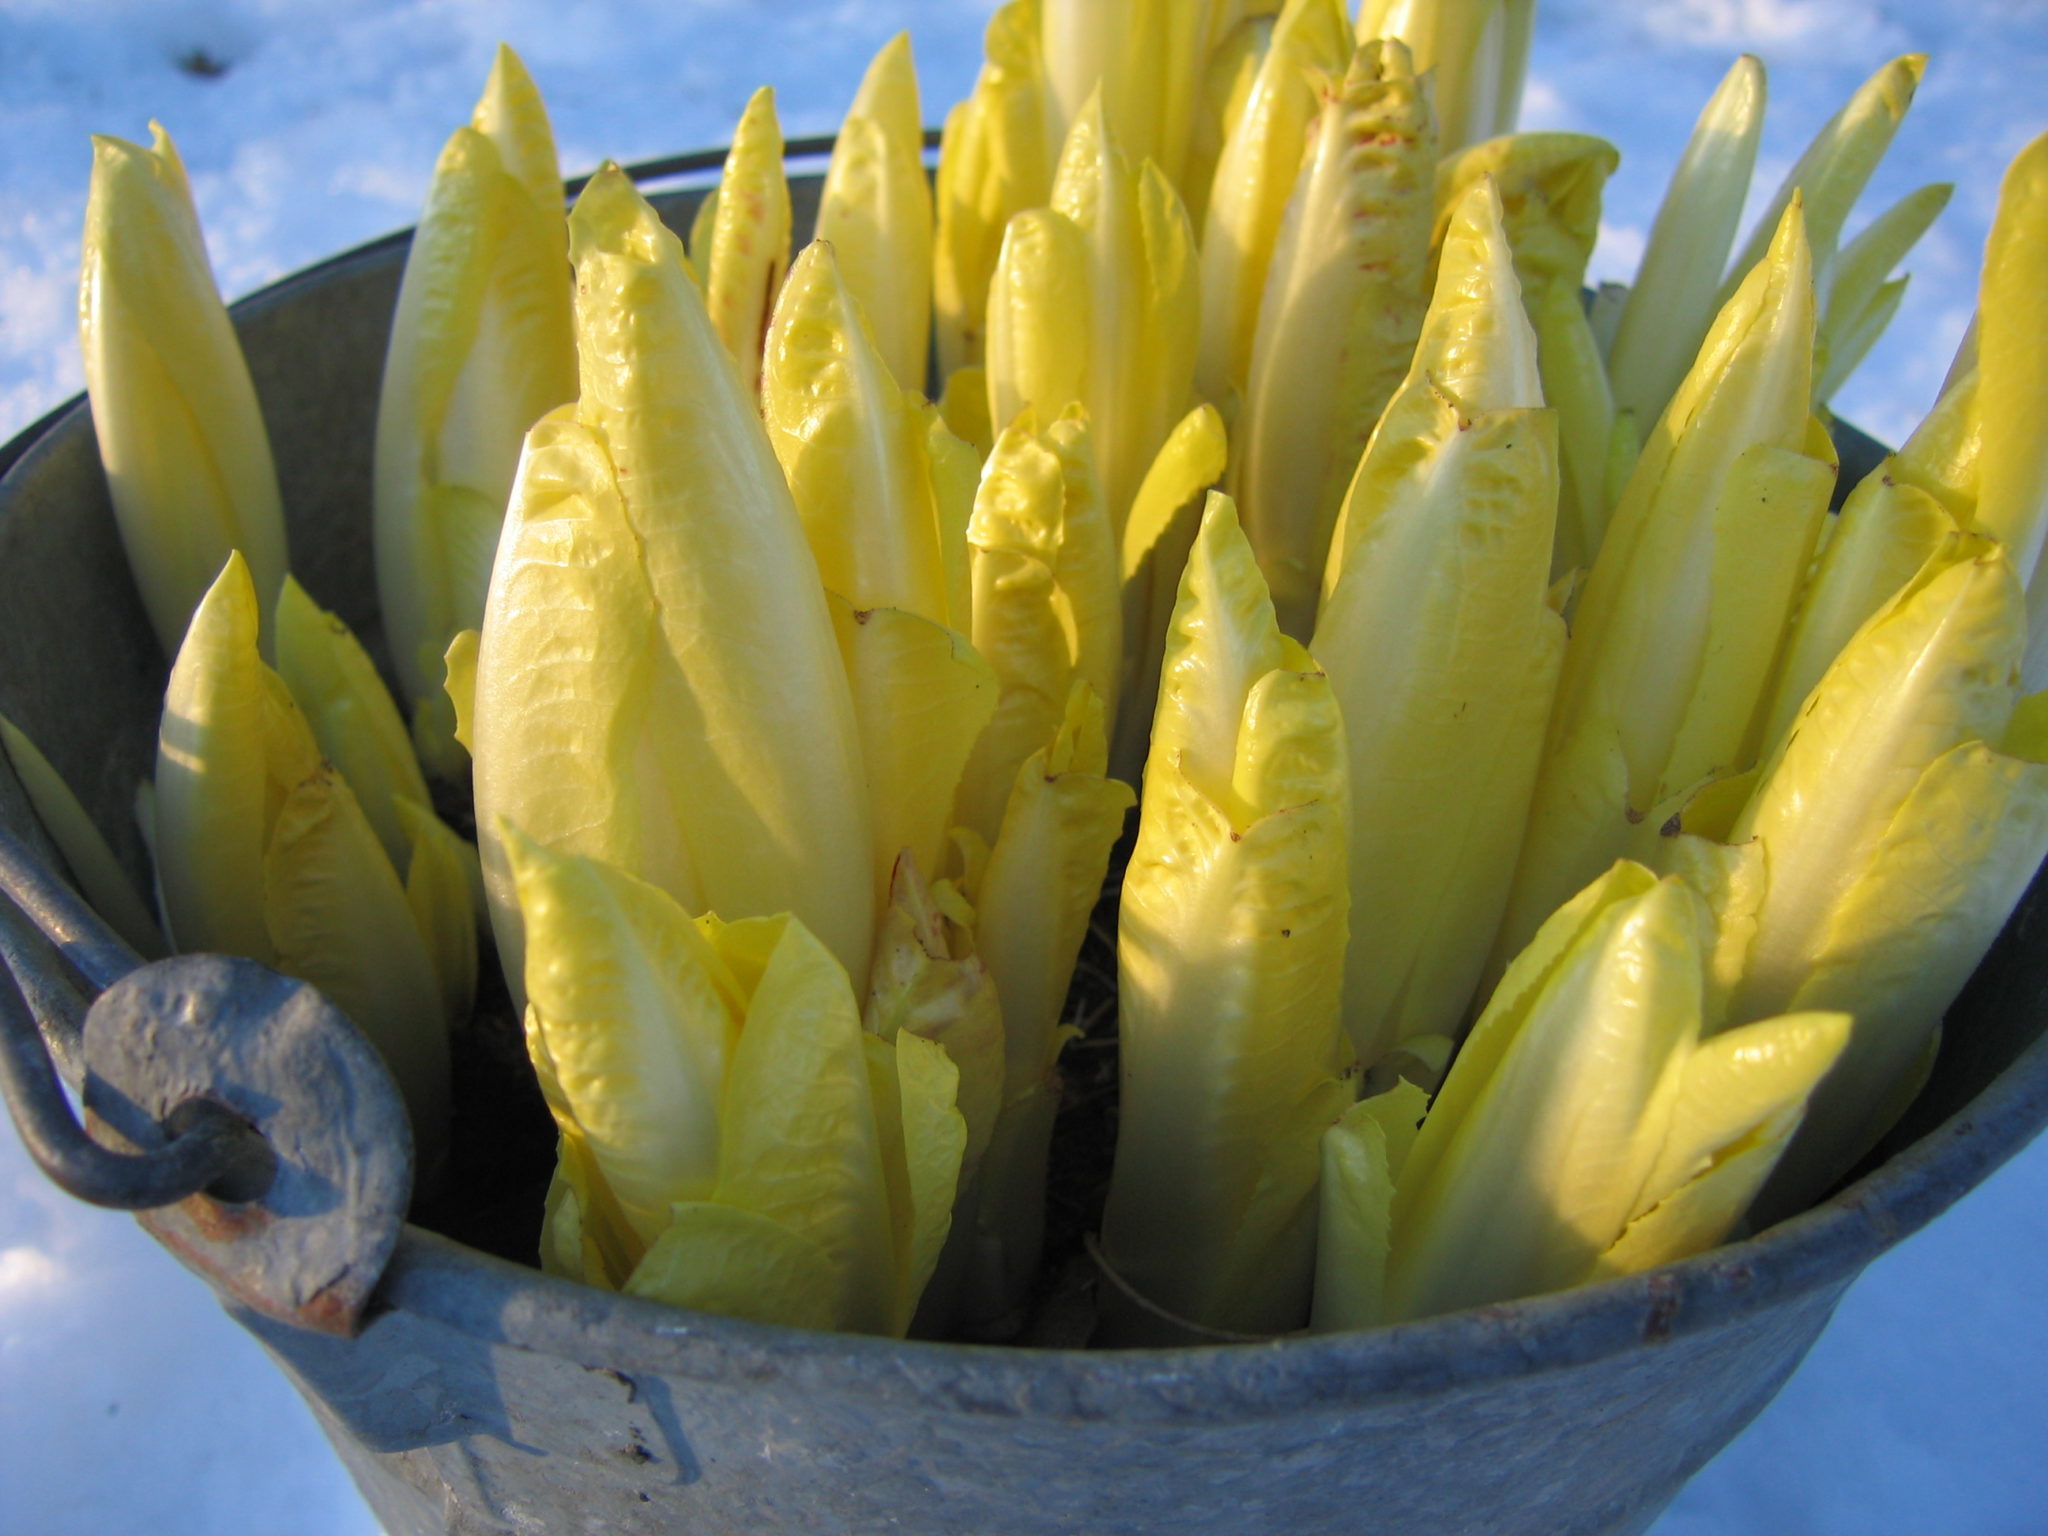
 Step 7: Check on your bucket from time to time. Roughly three weeks after stage 6, you should be able to cut your first endive salad. If you started with thick, stocky roots, cut them as you did in step 3 as you may be able to get a second harvest from them. Don’t worry if your endives don’t hold together tightly in a conical form, the flavor will be the same.
 Step 8: Enjoy your harvest!

Comments are closed.