
In northern climates experiencing cold, snowy winters, planting garlic in the fall and harvesting it the following summer is the way to go. Its sowing comes at a moment when there aren’t many other garden tasks competing for your attention which means that you can take the time to do it right and enjoy the process. You will see from the video above and the photos below that garlic is one of the easiest crops to plant. Once you’ve grown your own, you’ll never go back to buying it.
Benefits of Planting Garlic in the Fall
Planting garlic in the fall offers several advantages over spring planting:
- Root Development: Garlic planted in the fall has a head start in establishing its roots before the winter freeze. This early root development ensures that the plant is well-anchored and can access vital nutrients as soon as the soil thaws in spring.
- Pest and Disease Resistance: Fall-planted garlic tends to experience fewer issues with pests and diseases. This is because many common pests are less active in the cooler fall months, reducing the risk of infestation.
- Early Harvest: One of the joys of fall planting is the early harvest. Garlic planted in the fall matures faster and is ready for harvest earlier in the summer, allowing you to enjoy your homegrown garlic in a homemade gazpacho, bruschetta or other favorite dish of your choosing.
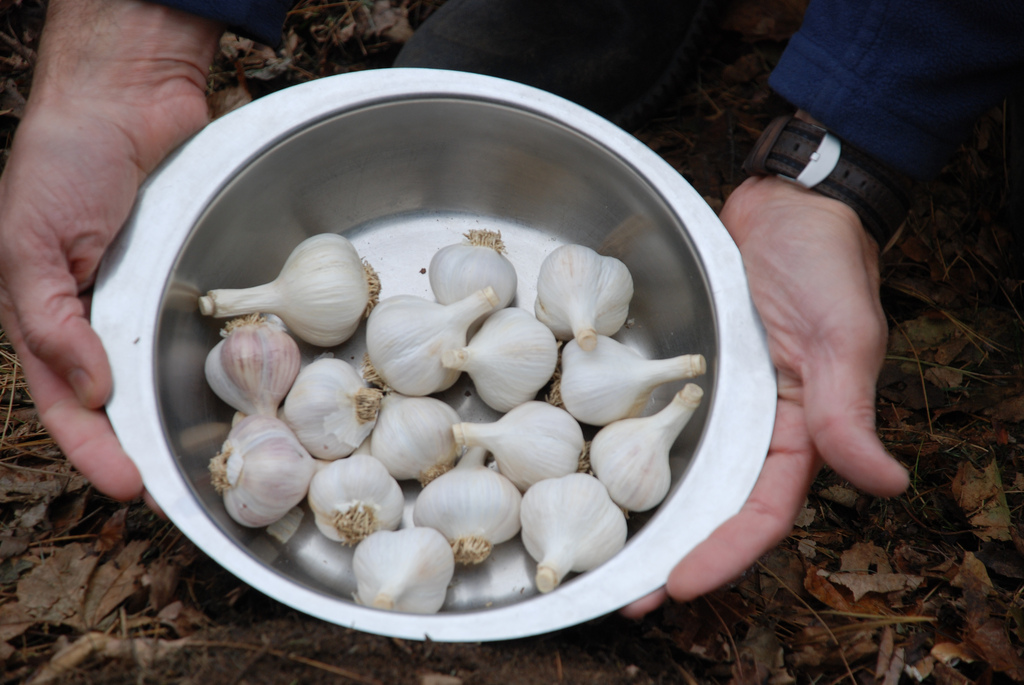
Choosing the Right Garlic Cloves
When selecting garlic cloves for planting, quality matters. Here’s what to look for:
- Firmness: Choose cloves that are firm to the touch. Soft cloves may be a sign of decay or disease.
- Appearance: The best cloves are free of blemishes, mold, or any signs of disease. They should be plump and have a healthy sheen.
- Size: Larger cloves often produce larger bulbs. While size isn’t the only factor to consider, it can be an indicator of the clove’s health and vitality.
Troubleshooting Common Garlic Planting Problems
While garlic is relatively easy to grow, gardeners may encounter a few challenges:
- Yellowing Leaves: This can be a sign of overwatering. Ensure your soil drains well and avoid watering unless the top inch of soil is dry.
- Pests: Aphids and nematodes can sometimes be a problem. Introducing beneficial insects like ladybugs can help control aphid populations.
- Diseases: Garlic can be susceptible to fungal diseases. Rotate your crops and avoid planting garlic in the same spot year after year.
Harvesting and Storing Garlic
Once your garlic has matured, it’s time to harvest:
- When to Harvest: Look for the lower leaves to turn brown. This is a sign that the garlic is ready.
- Digging Up: Use a fork or spade to gently lift the bulbs from the ground.
- Curing: Allow the garlic to dry in a well-ventilated area for 2-3 weeks.
- Storing: Store cured garlic in a cool, dry place. Braiding and hanging garlic is a popular and decorative storage method.
Planting Garlic in the Fall: Step By Step
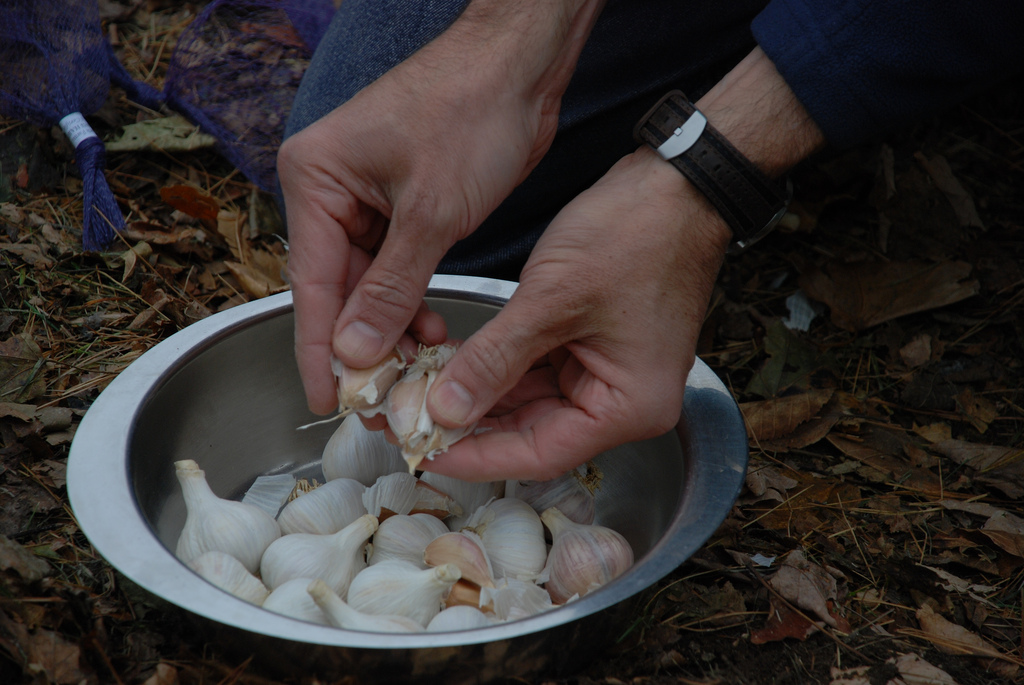
Step 1: Buy some seed garlic
Seed garlic can be purchased online or at farmers markets. You’ll want to look for hardneck varieties as they tend to be the most cold hearty.
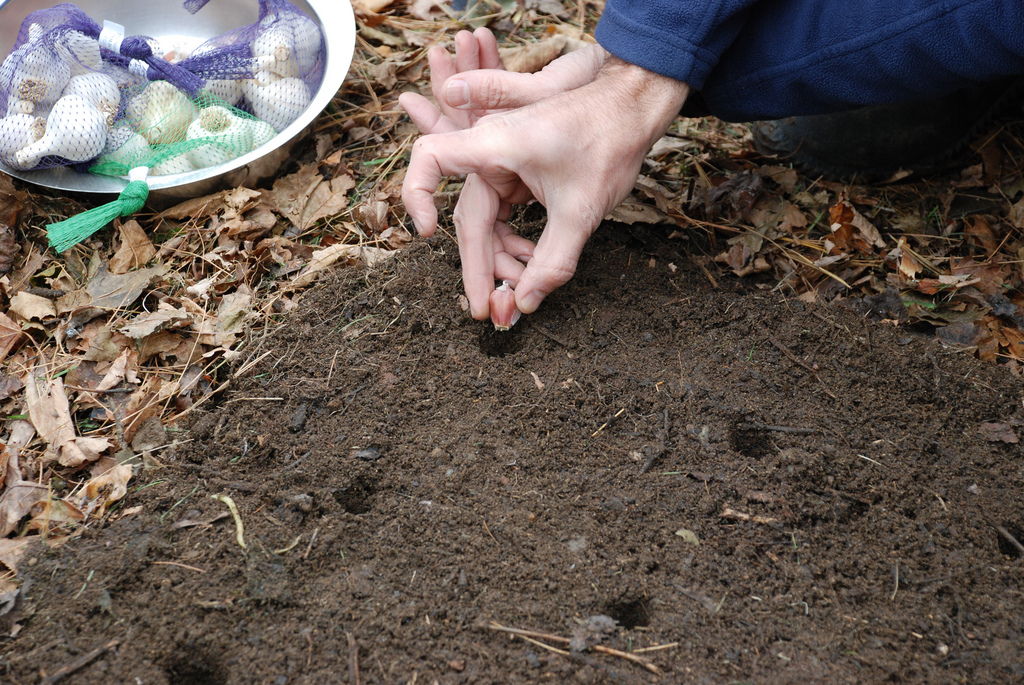
Step 2: Break your bulbs up into single cloves. Each clove will grown into a new bulb.
Step 3: Loosen up the soil in your bed for planting
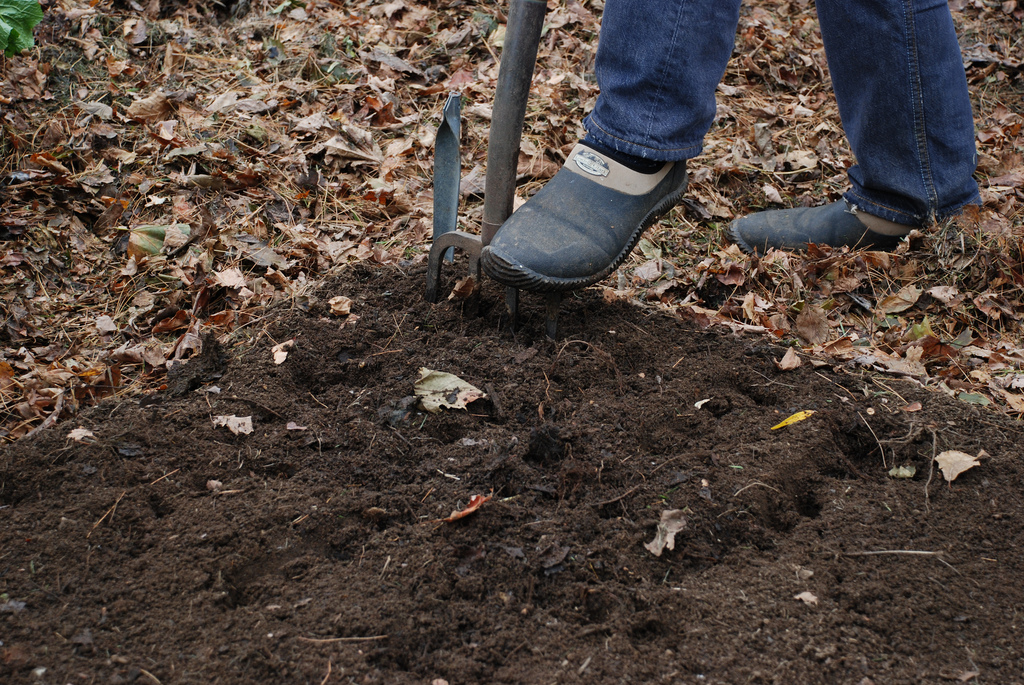
Although your garlic will go dormant over the winter, your cloves will already begin forming roots in the fall and you want to make it easy for them to have the water and nutrients they need to thrive.
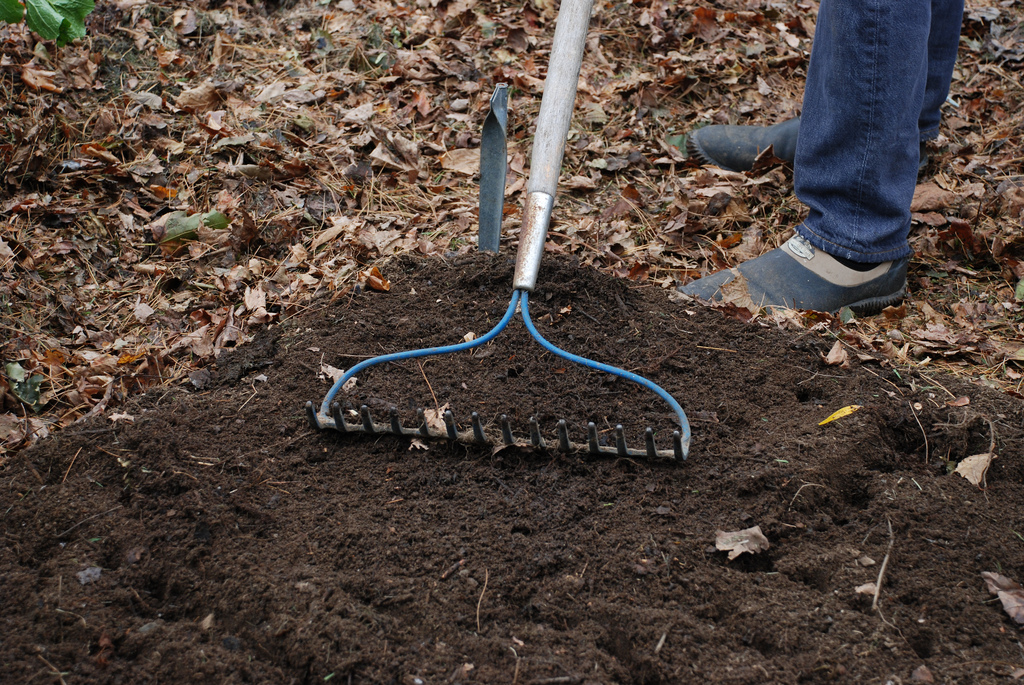
Step 4: Level off your beds with a rake
Step 5: Begin making holes 2 inches deep
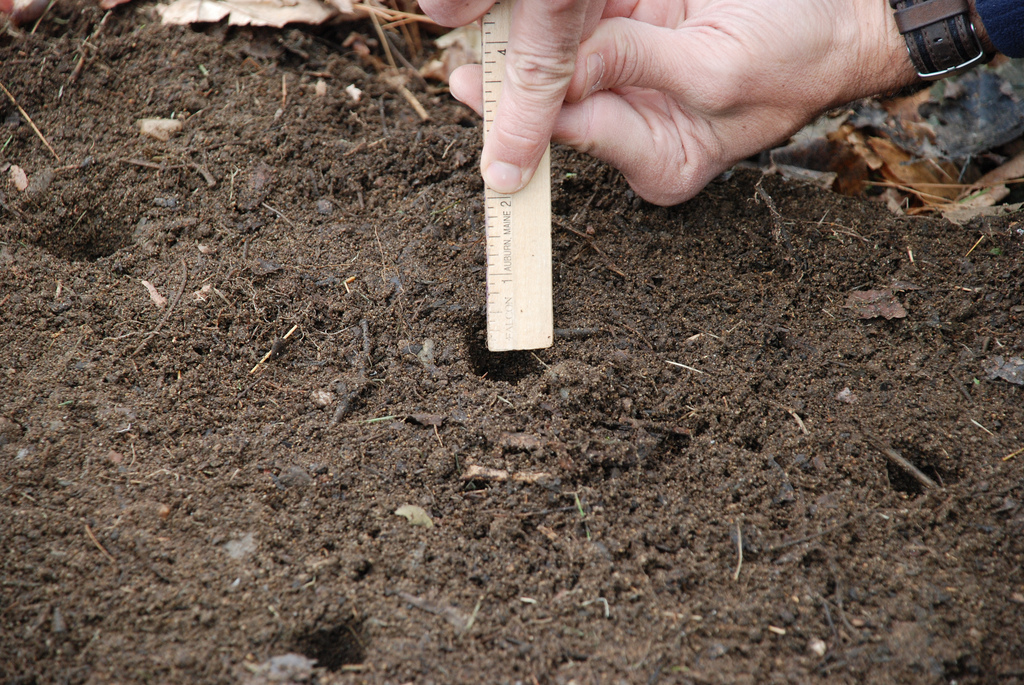
Step 6: Space your holes 6 inches away from each other in a grid pattern
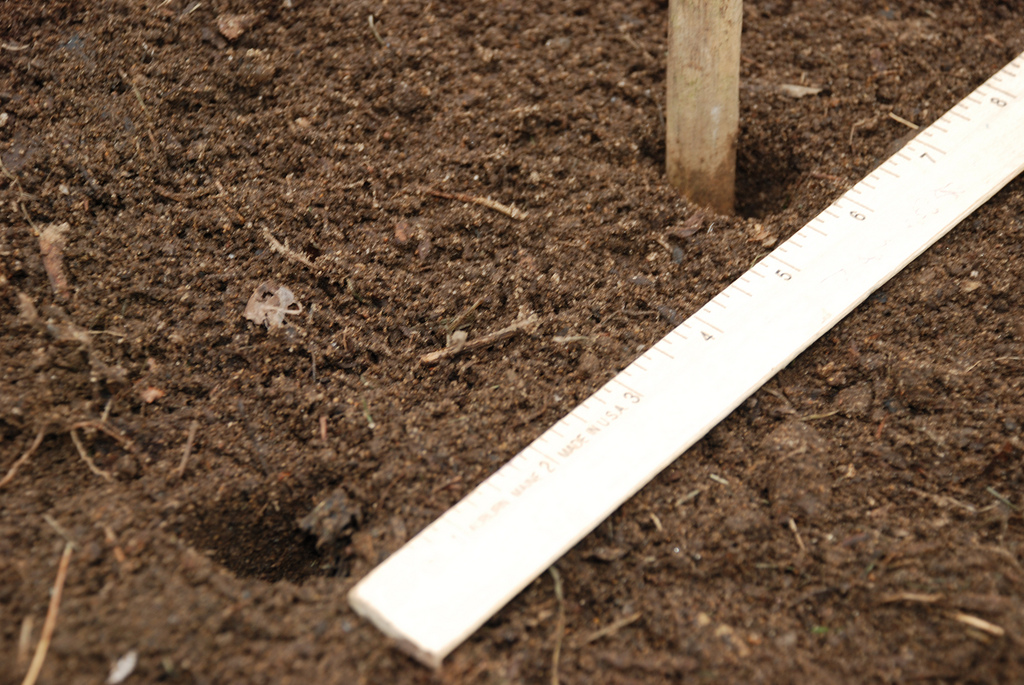
Step 7: Place your garlic cloves pointy side up into the holes and cover with soil
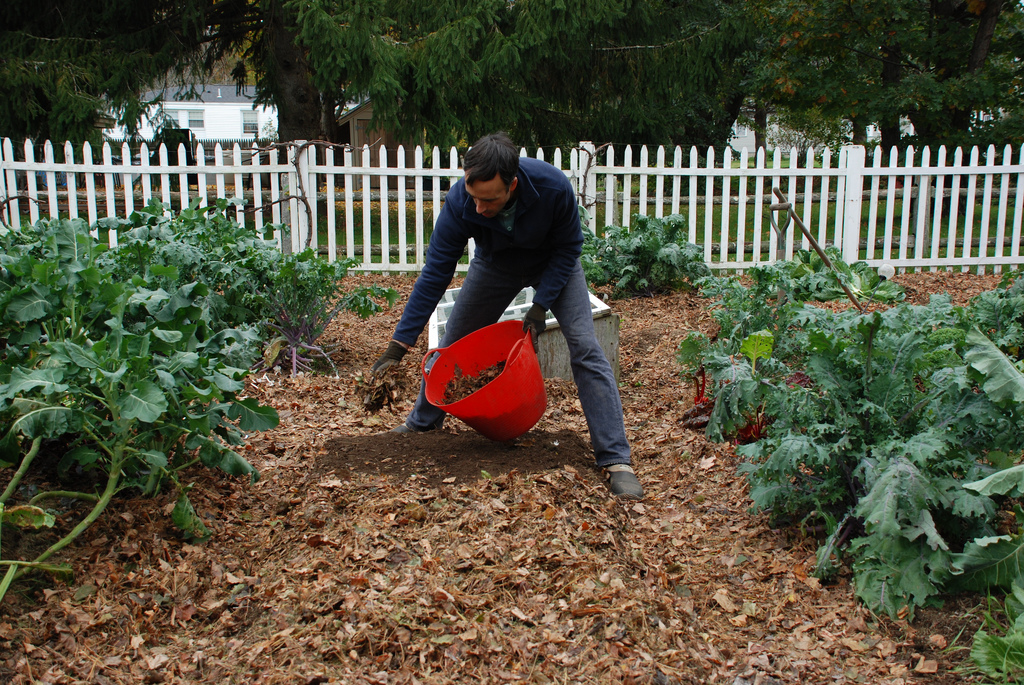
Step 8: Cover your bed with a generous layer of organic mulch (leaves, pine needles, straw, etc.). That’s it!
Comments are closed.