Have you ever tried to get a jump on spring by planting some seeds inside only to have the seedling die on you once you transplanted them outside? Often if a transplanted seedling doesn’t do well in its new outdoor habitat it’s because it’s root system was damaged in the transplanting process. Soil-blocking, germinating seeds in cubic squares of soil, ensures that damage doesn’t occur. It’s an effective way to get your season-starting-seedlings growing vigorously.
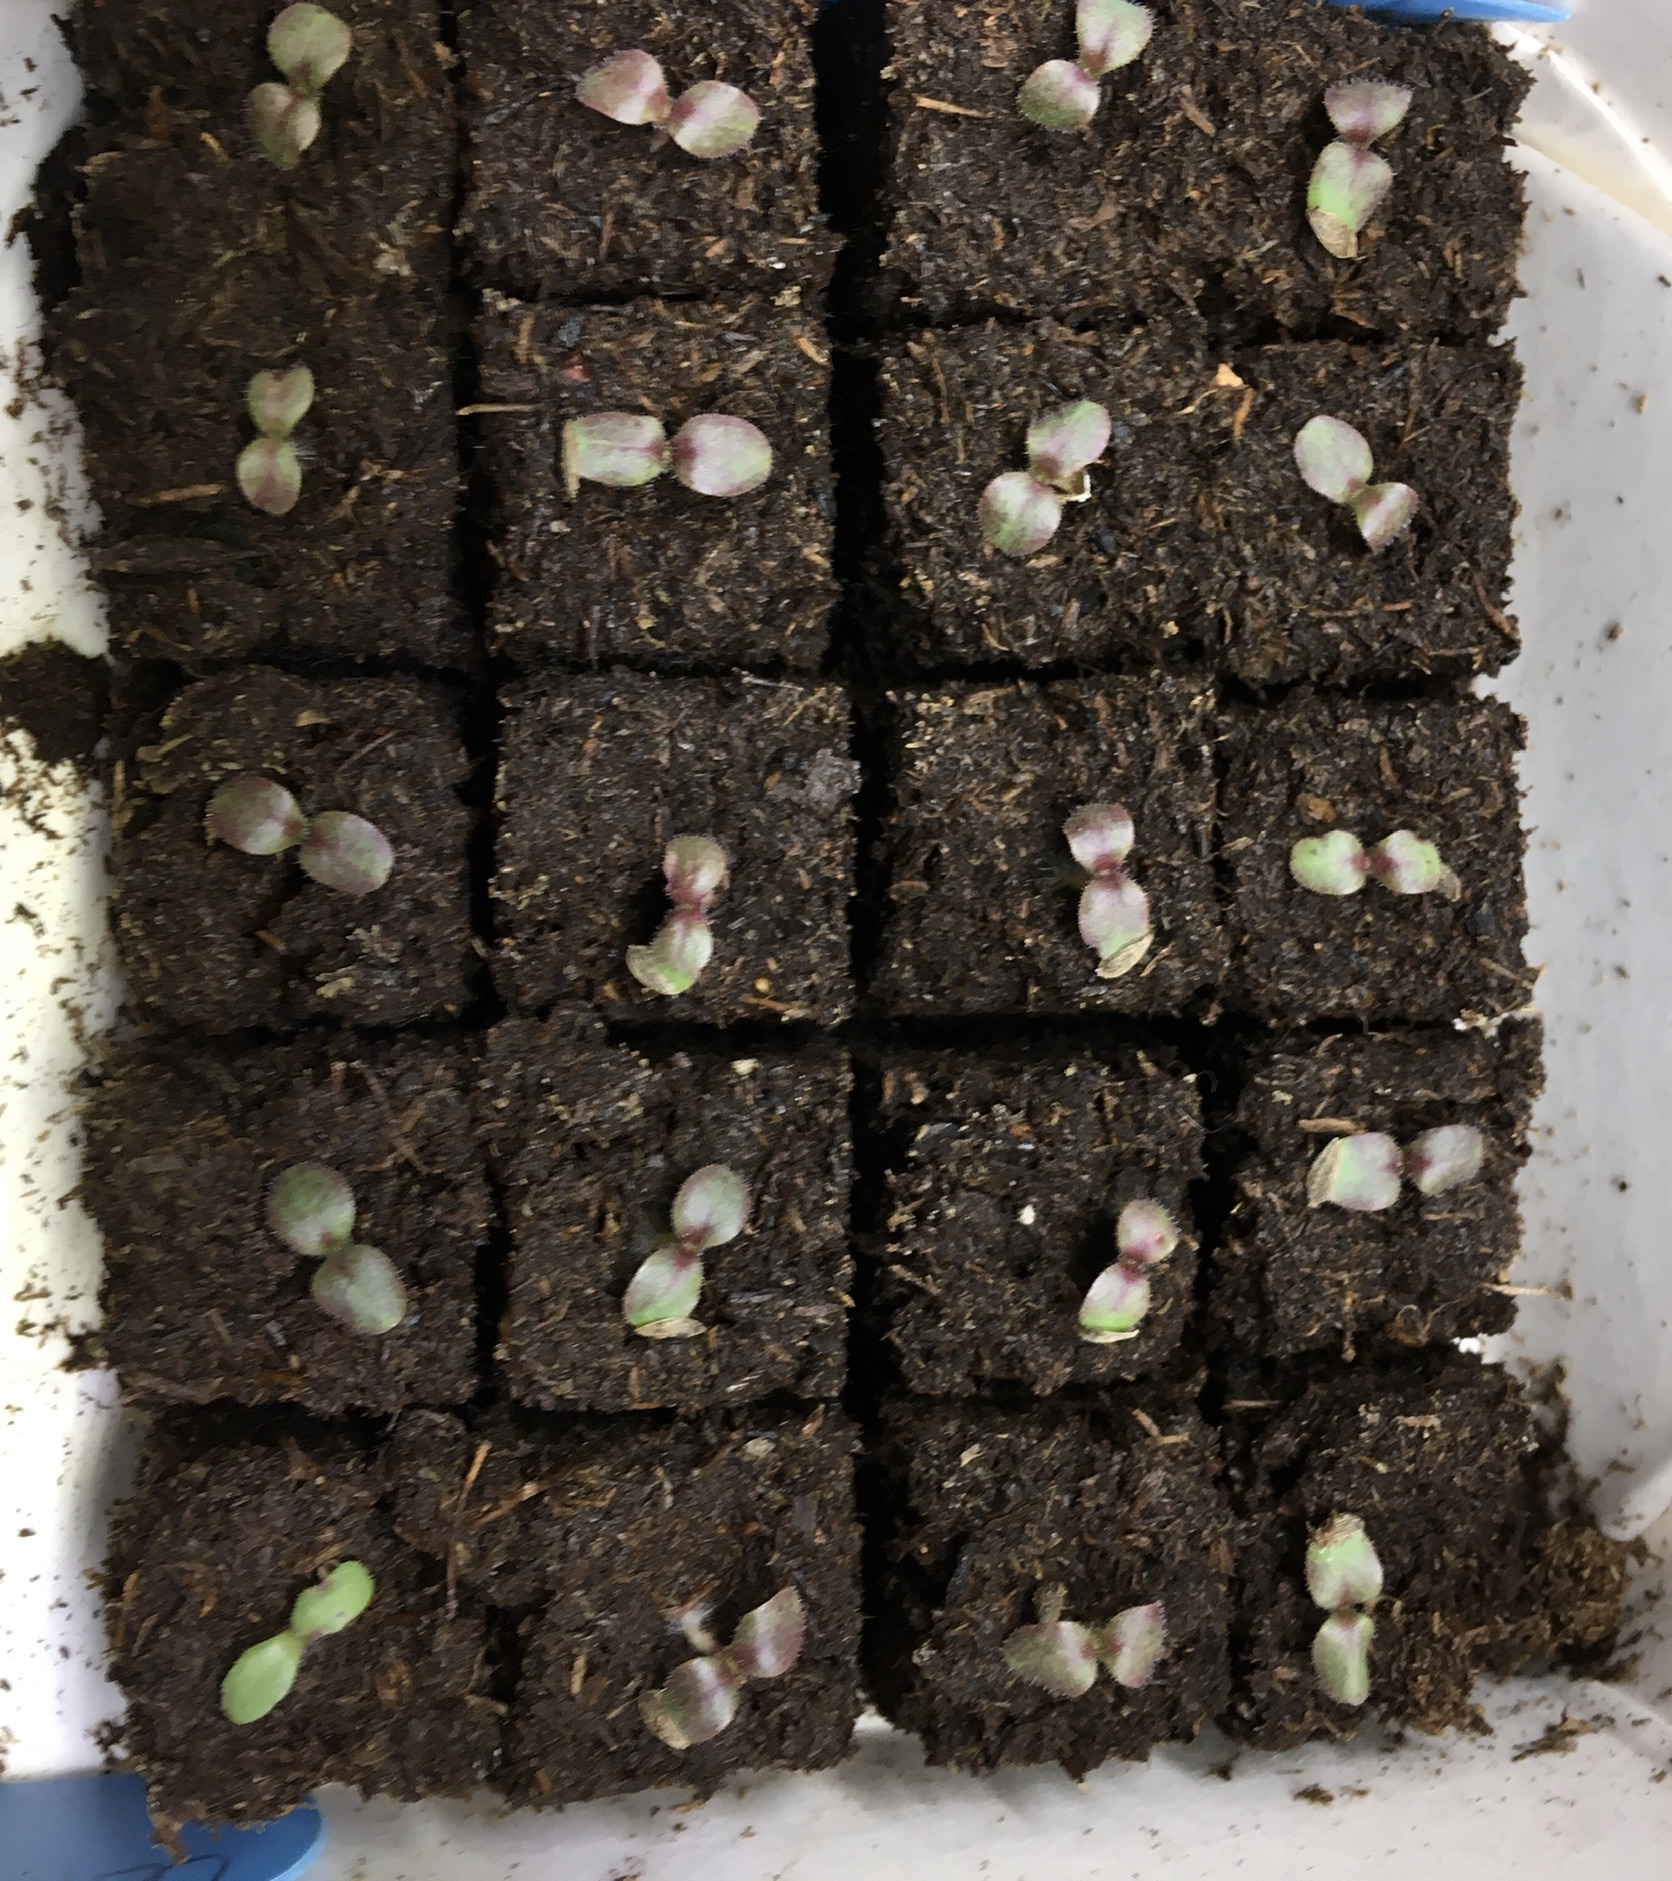
Using a tool called a mini soil blocker, you can create 3/4 inch cubes of peat moss, sow a single small seed per block, and transplant at germination with little or no transplant shock. Give every seed a chance to grow. Ideal for small vegetable and flower seeds the size of lettuce, basil, or strawberry seeds.
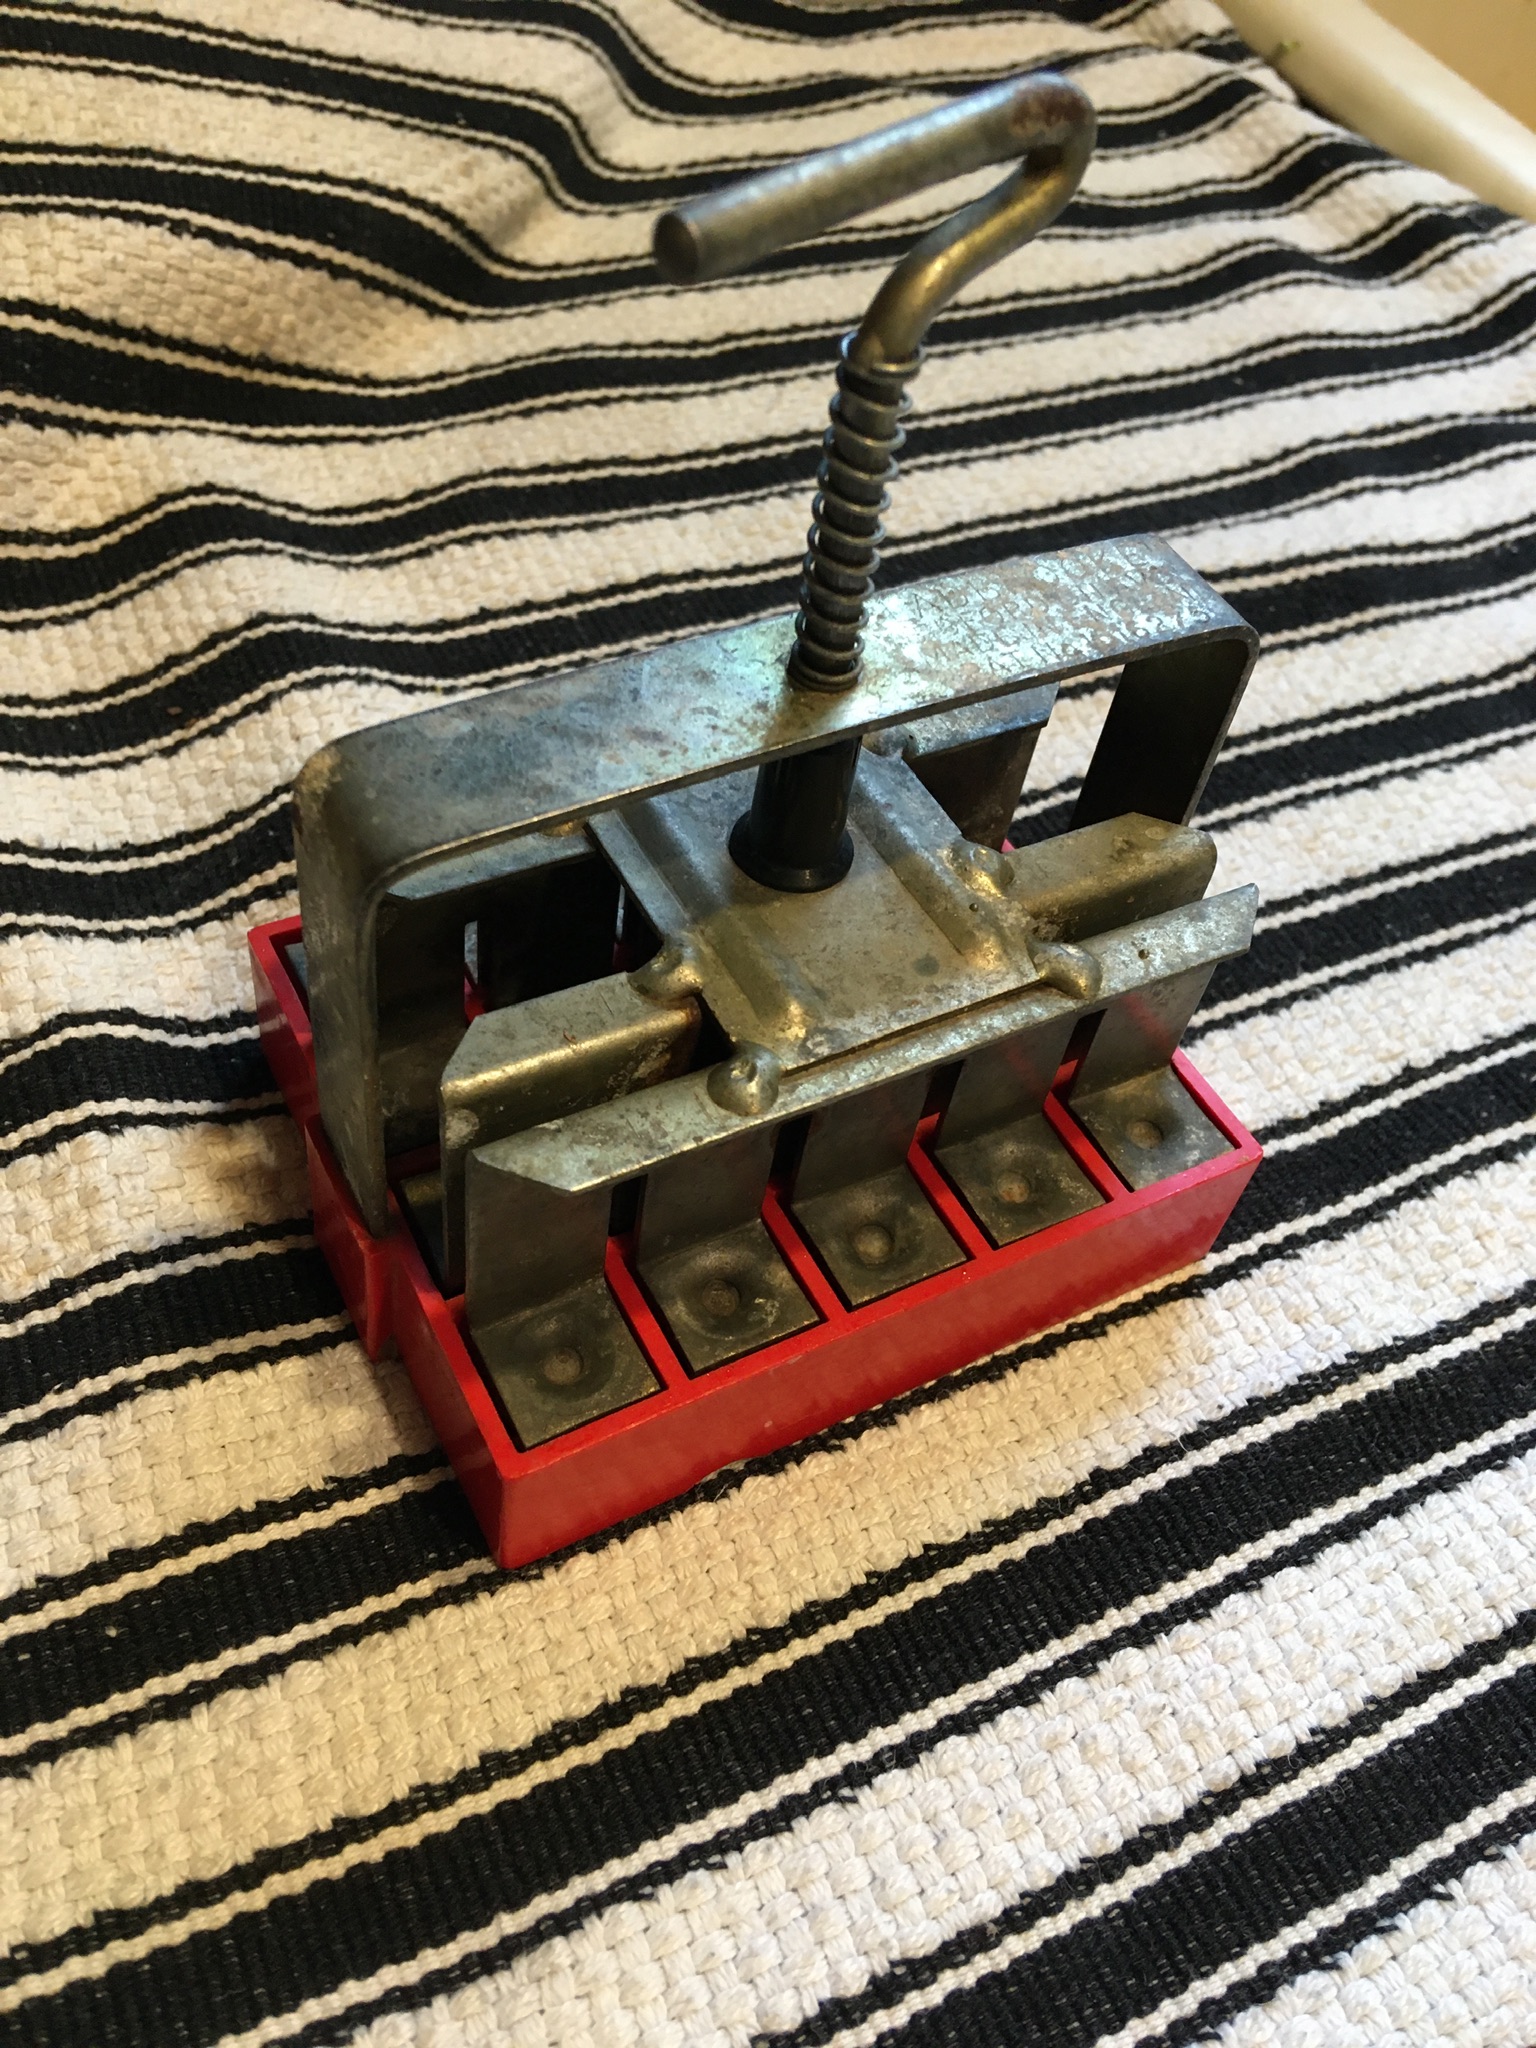
This is a mini soil blocker. You press out twenty 3/4 inch blocks at a time. For most seeds (those seeds germinating in one week or less), I mix peat moss with warm water until it resembles cottage cheese. Press the soil blocker into the peat moss and twist to make sure all cubes are filled. Lift up, level off the peat moss with a trowel, then press into a container. The blocks will retain their shape until transplanted when watered from the bottom of the container.
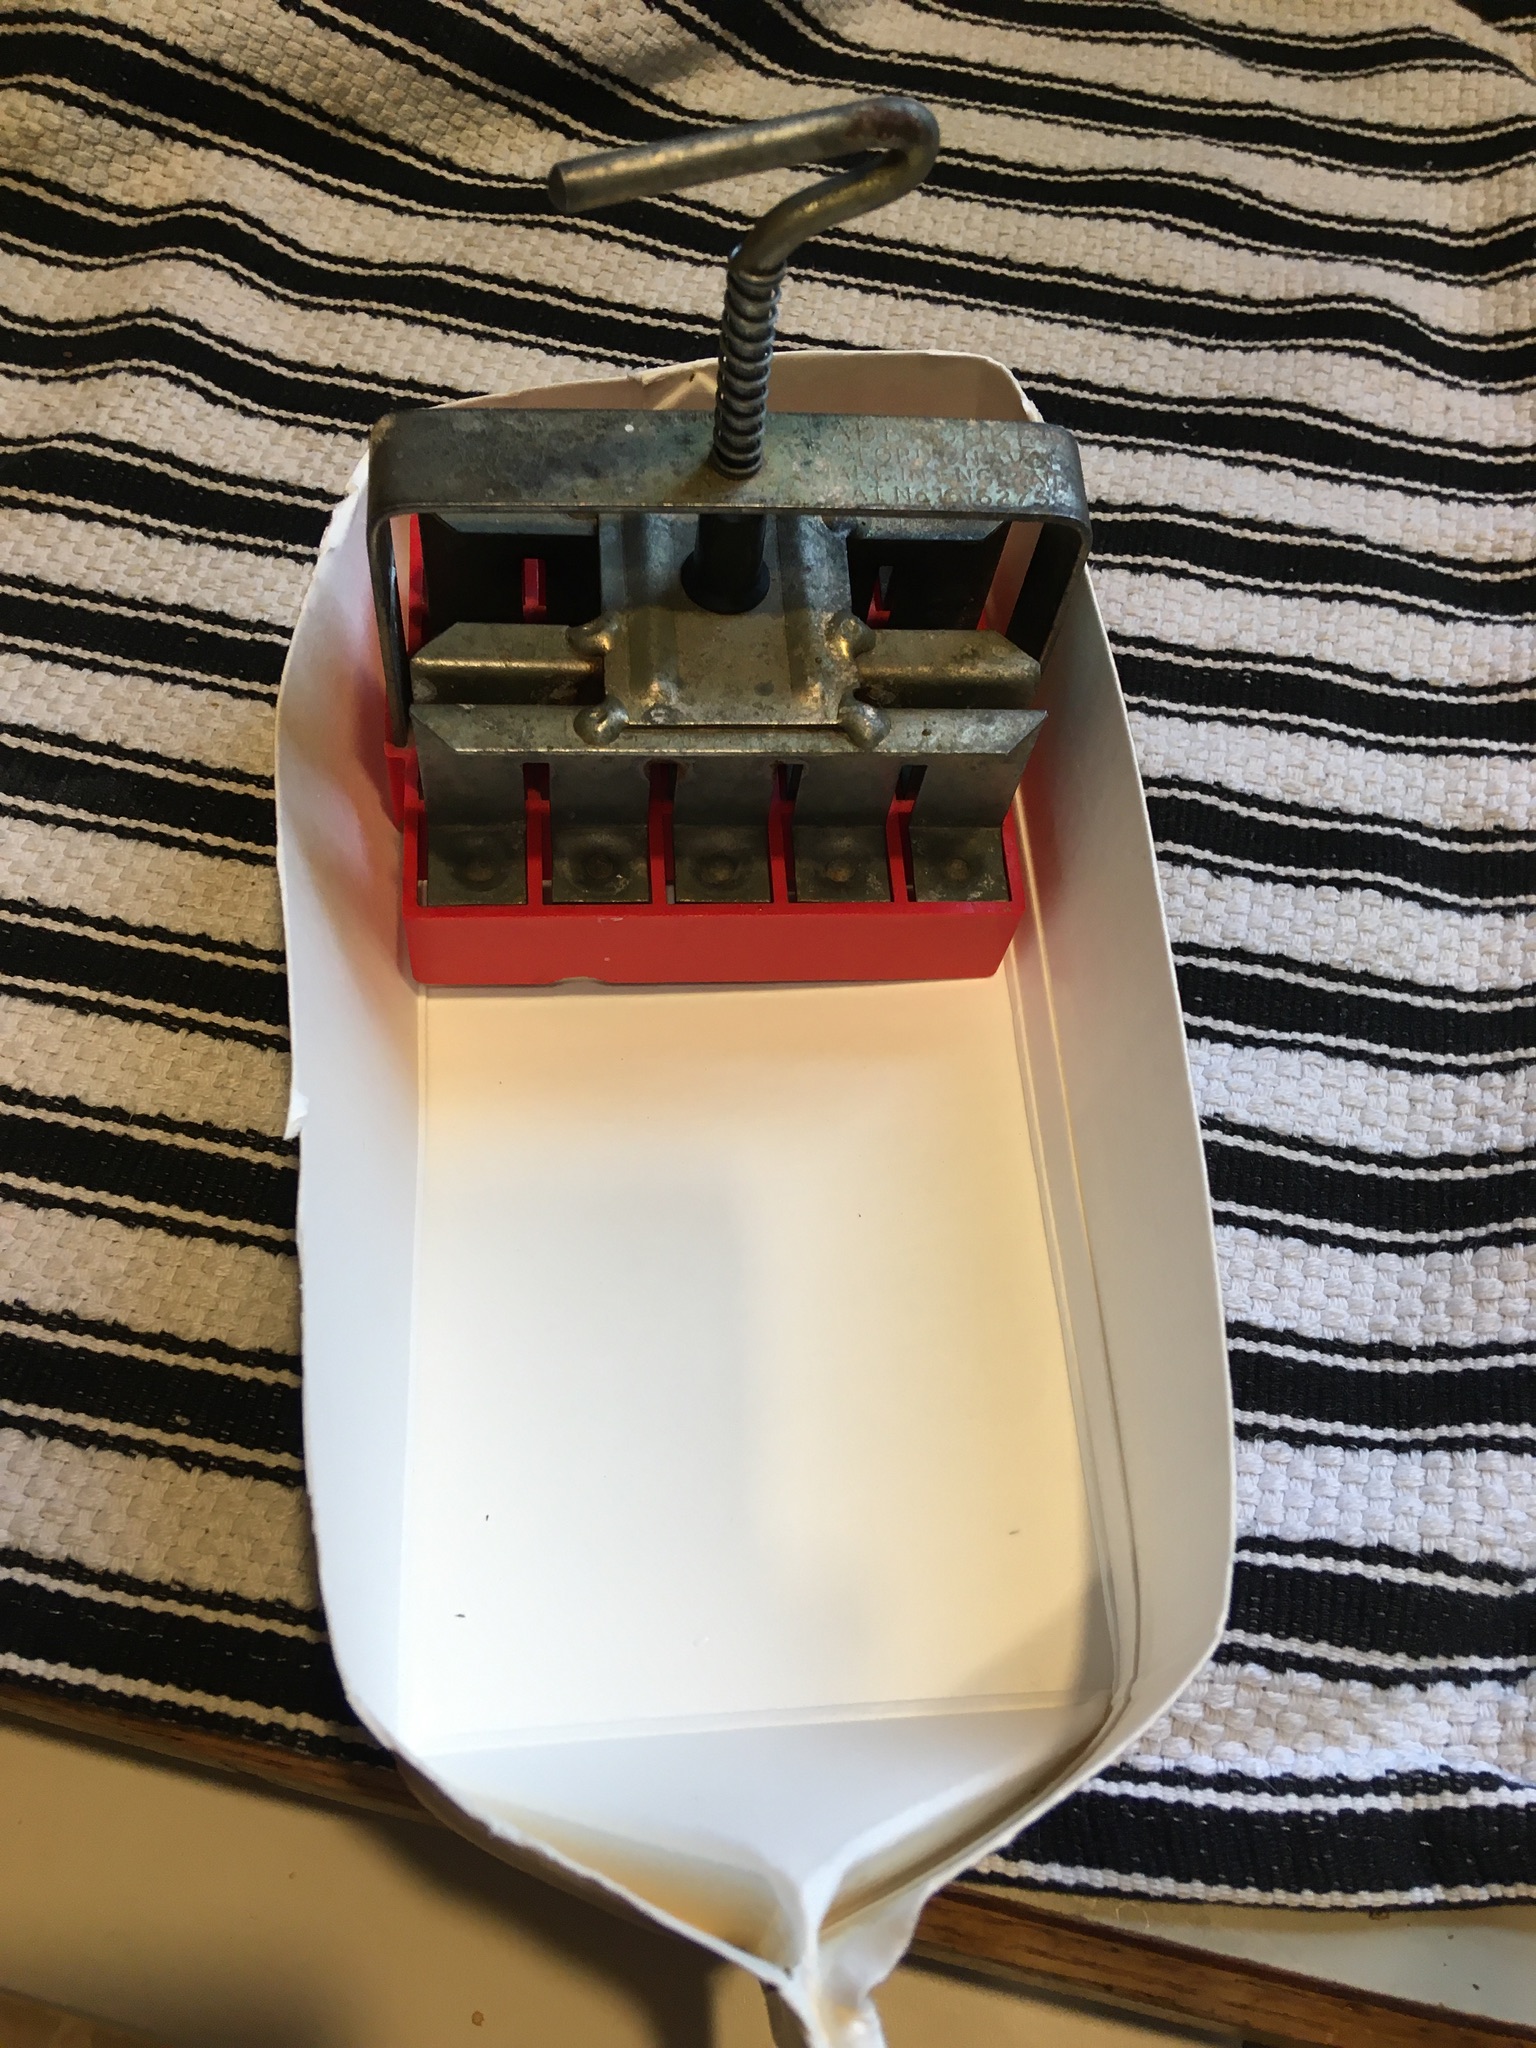
I find that a half-gallon milk carton cut lengthwise is a perfect container for the mini blocks. This half-carton will hold a total of 40 blocks, 20 blocks at either end. Other containers would work well too.
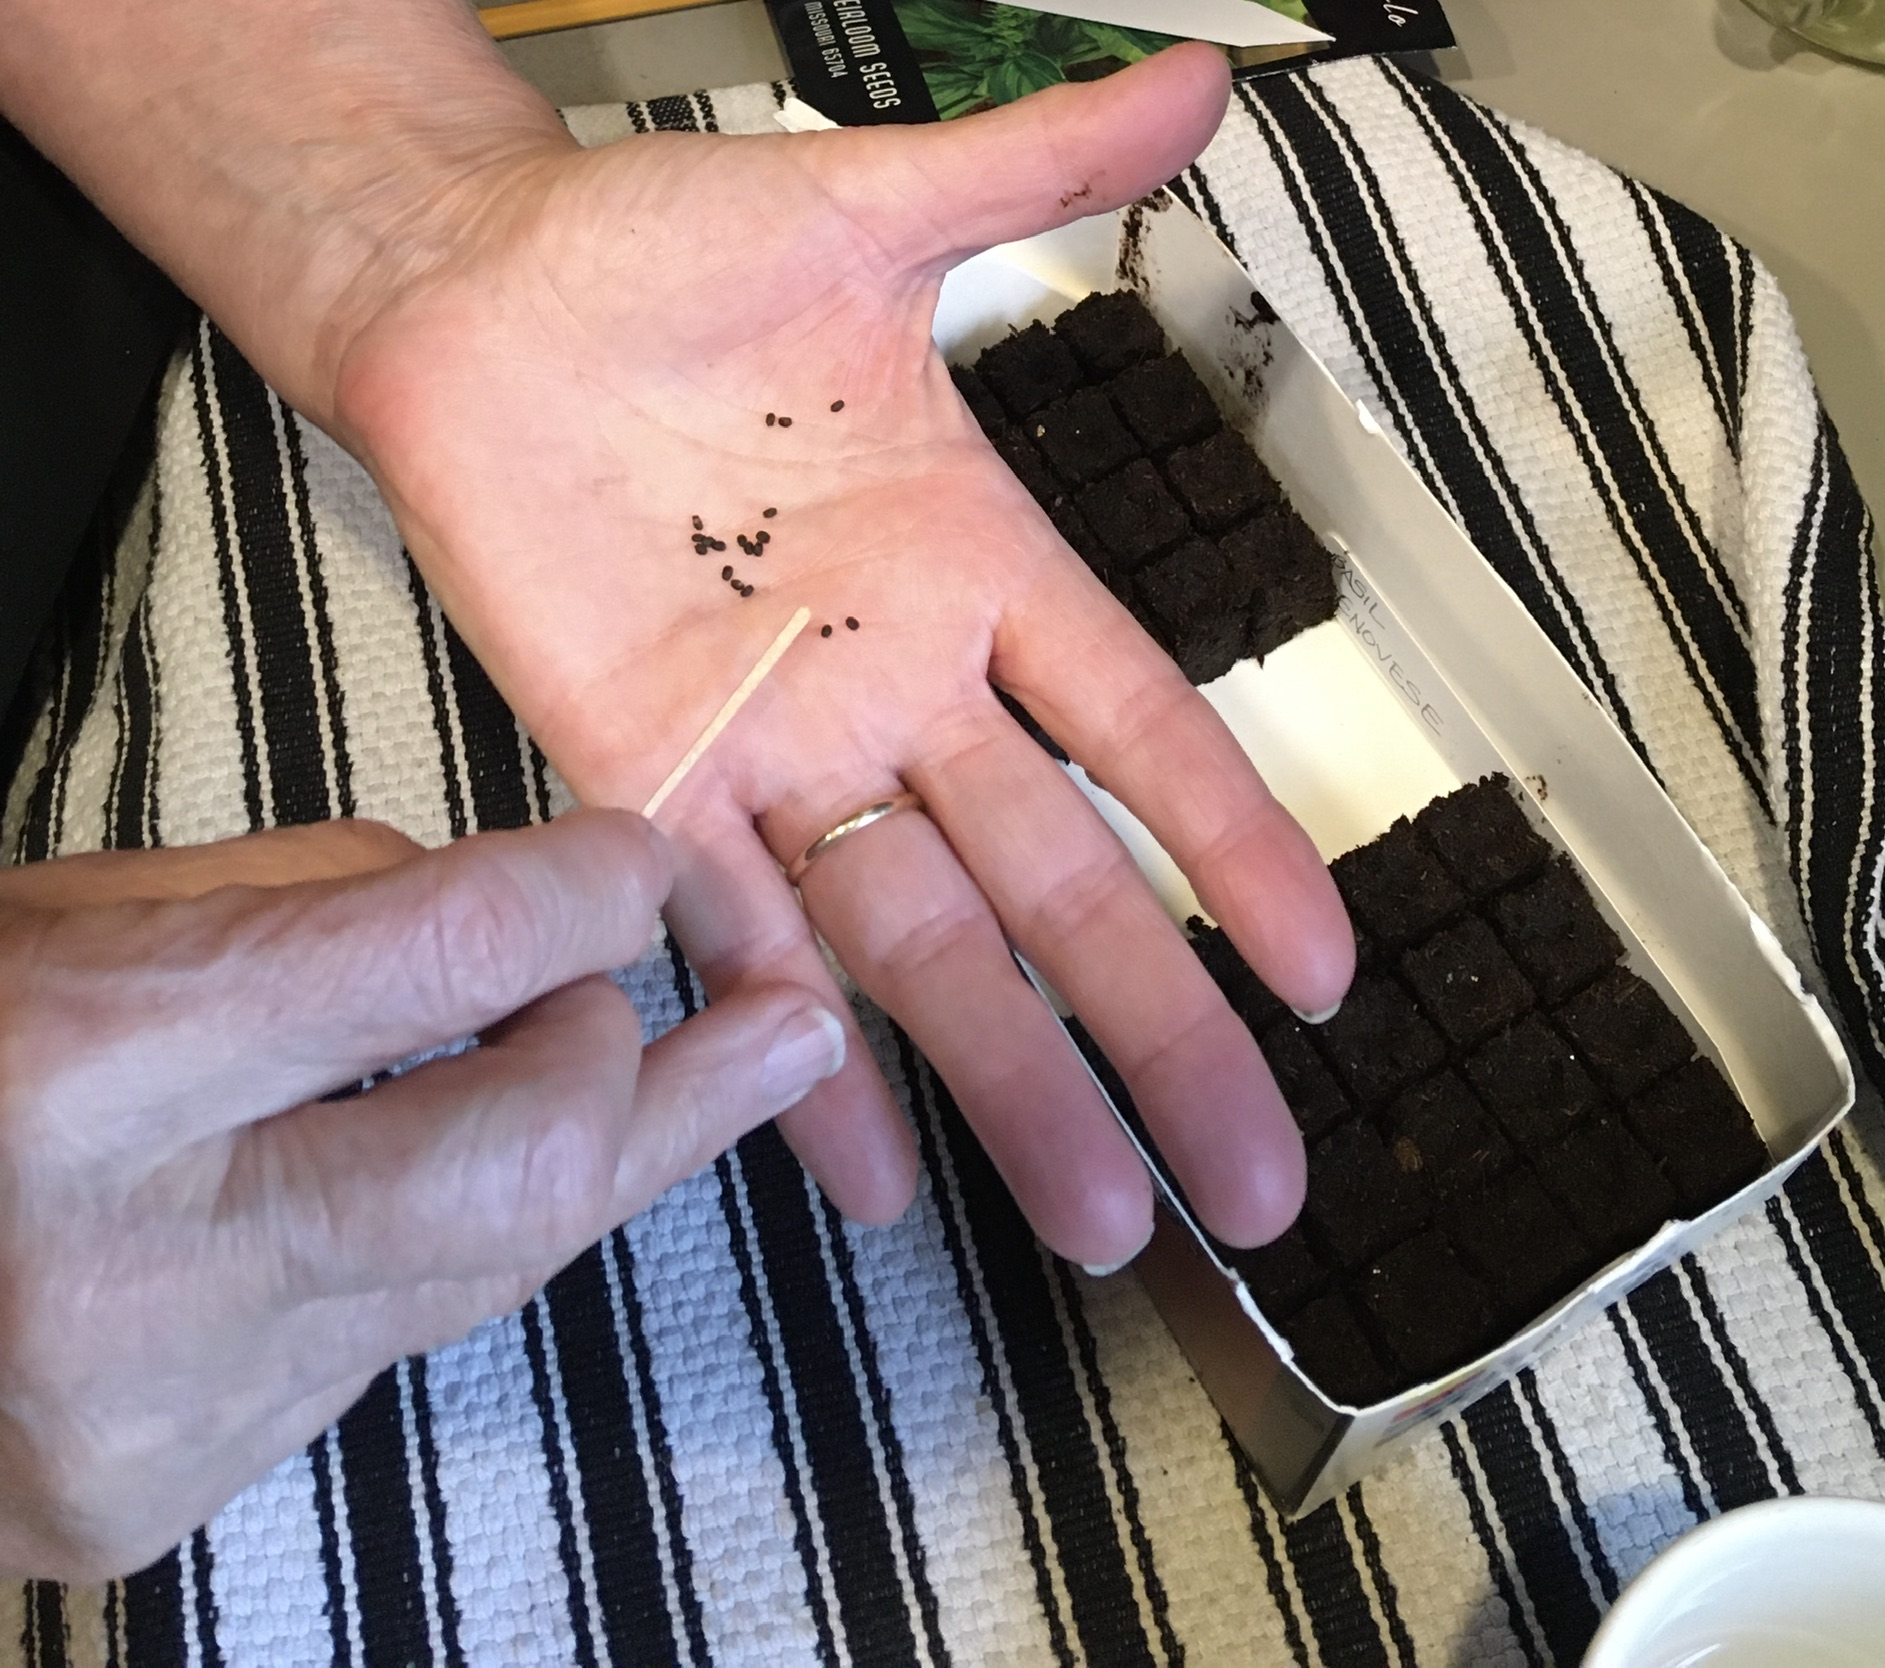
To sow one seed per block, use a toothpick dipped in water. Pick up a single seed and press it firmly onto the top of the soil block if the seed needs light to germinate, or press it into the soil block if it needs darkness to germinate. Be sure to label your seeds.
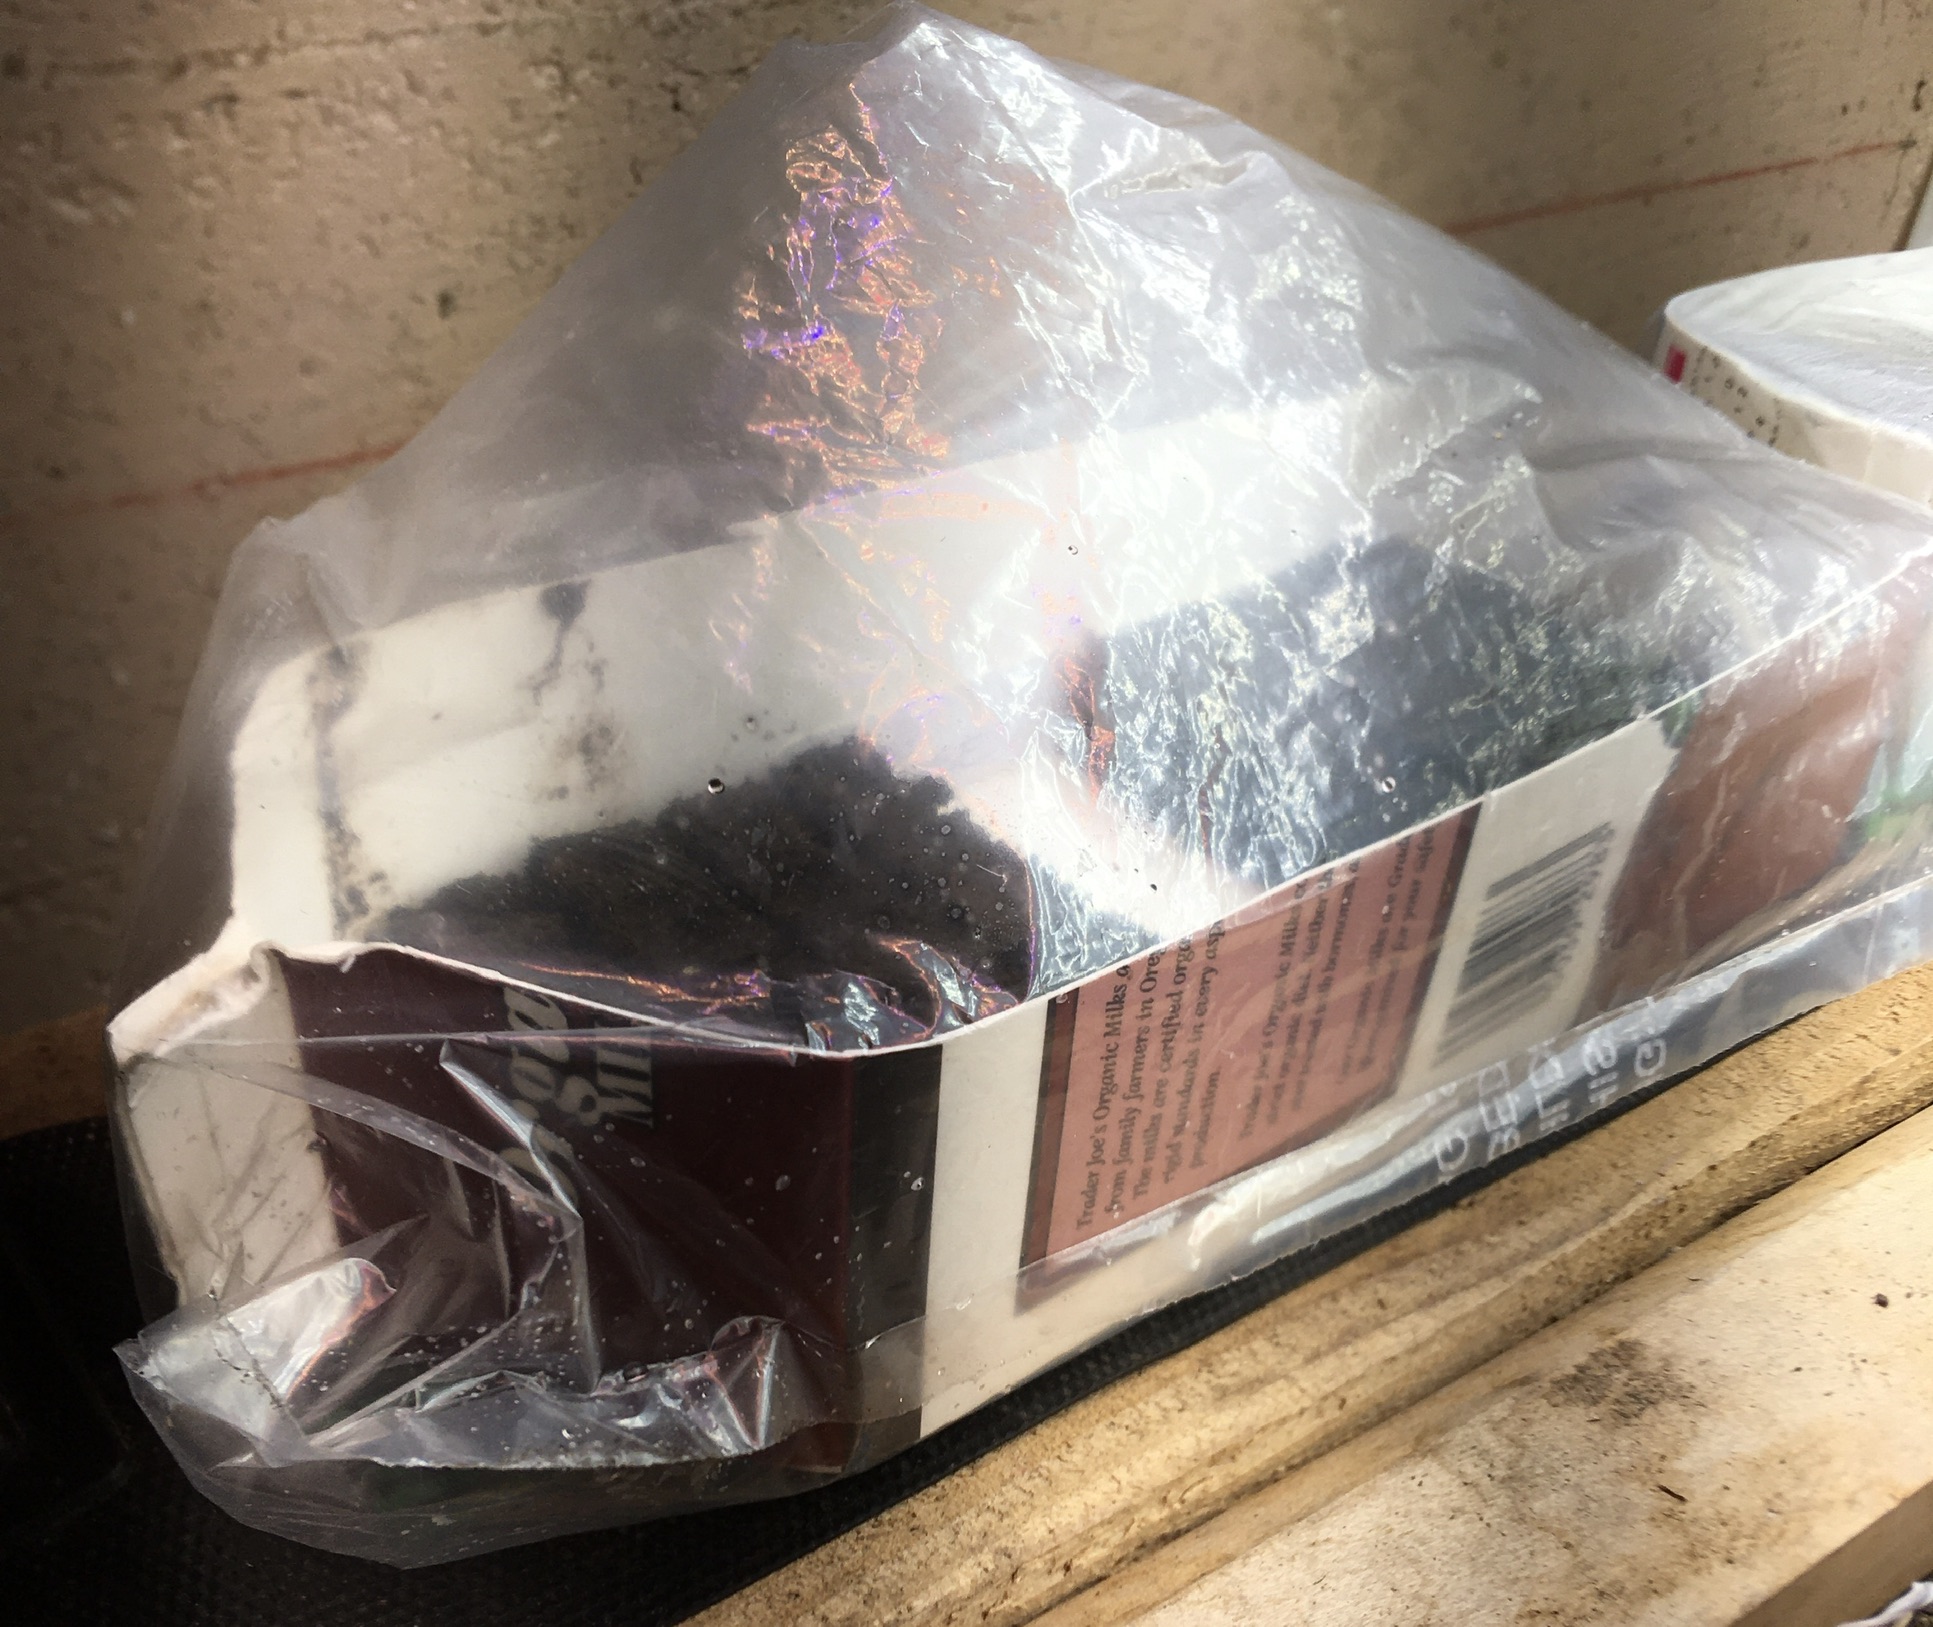
Ensure that the soil blocks remain moist. If using a half-gallon milk carton, you can enclose the entire carton in a one-gallon clear plastic bag with a twist tie. Place under grow lights or on a windowsill out of the sunshine. Check the soil blocks twice a day to make sure they are neither too dry nor too moist. Water from the bottom. Remove the plastic when the seeds germinate.

Depending on the seeds, a heating mat may be used to enhance germination. A windowsill heating mat is large enough for two half-gallon milk cartons, for a total of 80 soil blocks. Remove the cartons from the heating mat once they germinate, and place another two half-cartons on the heating mat.
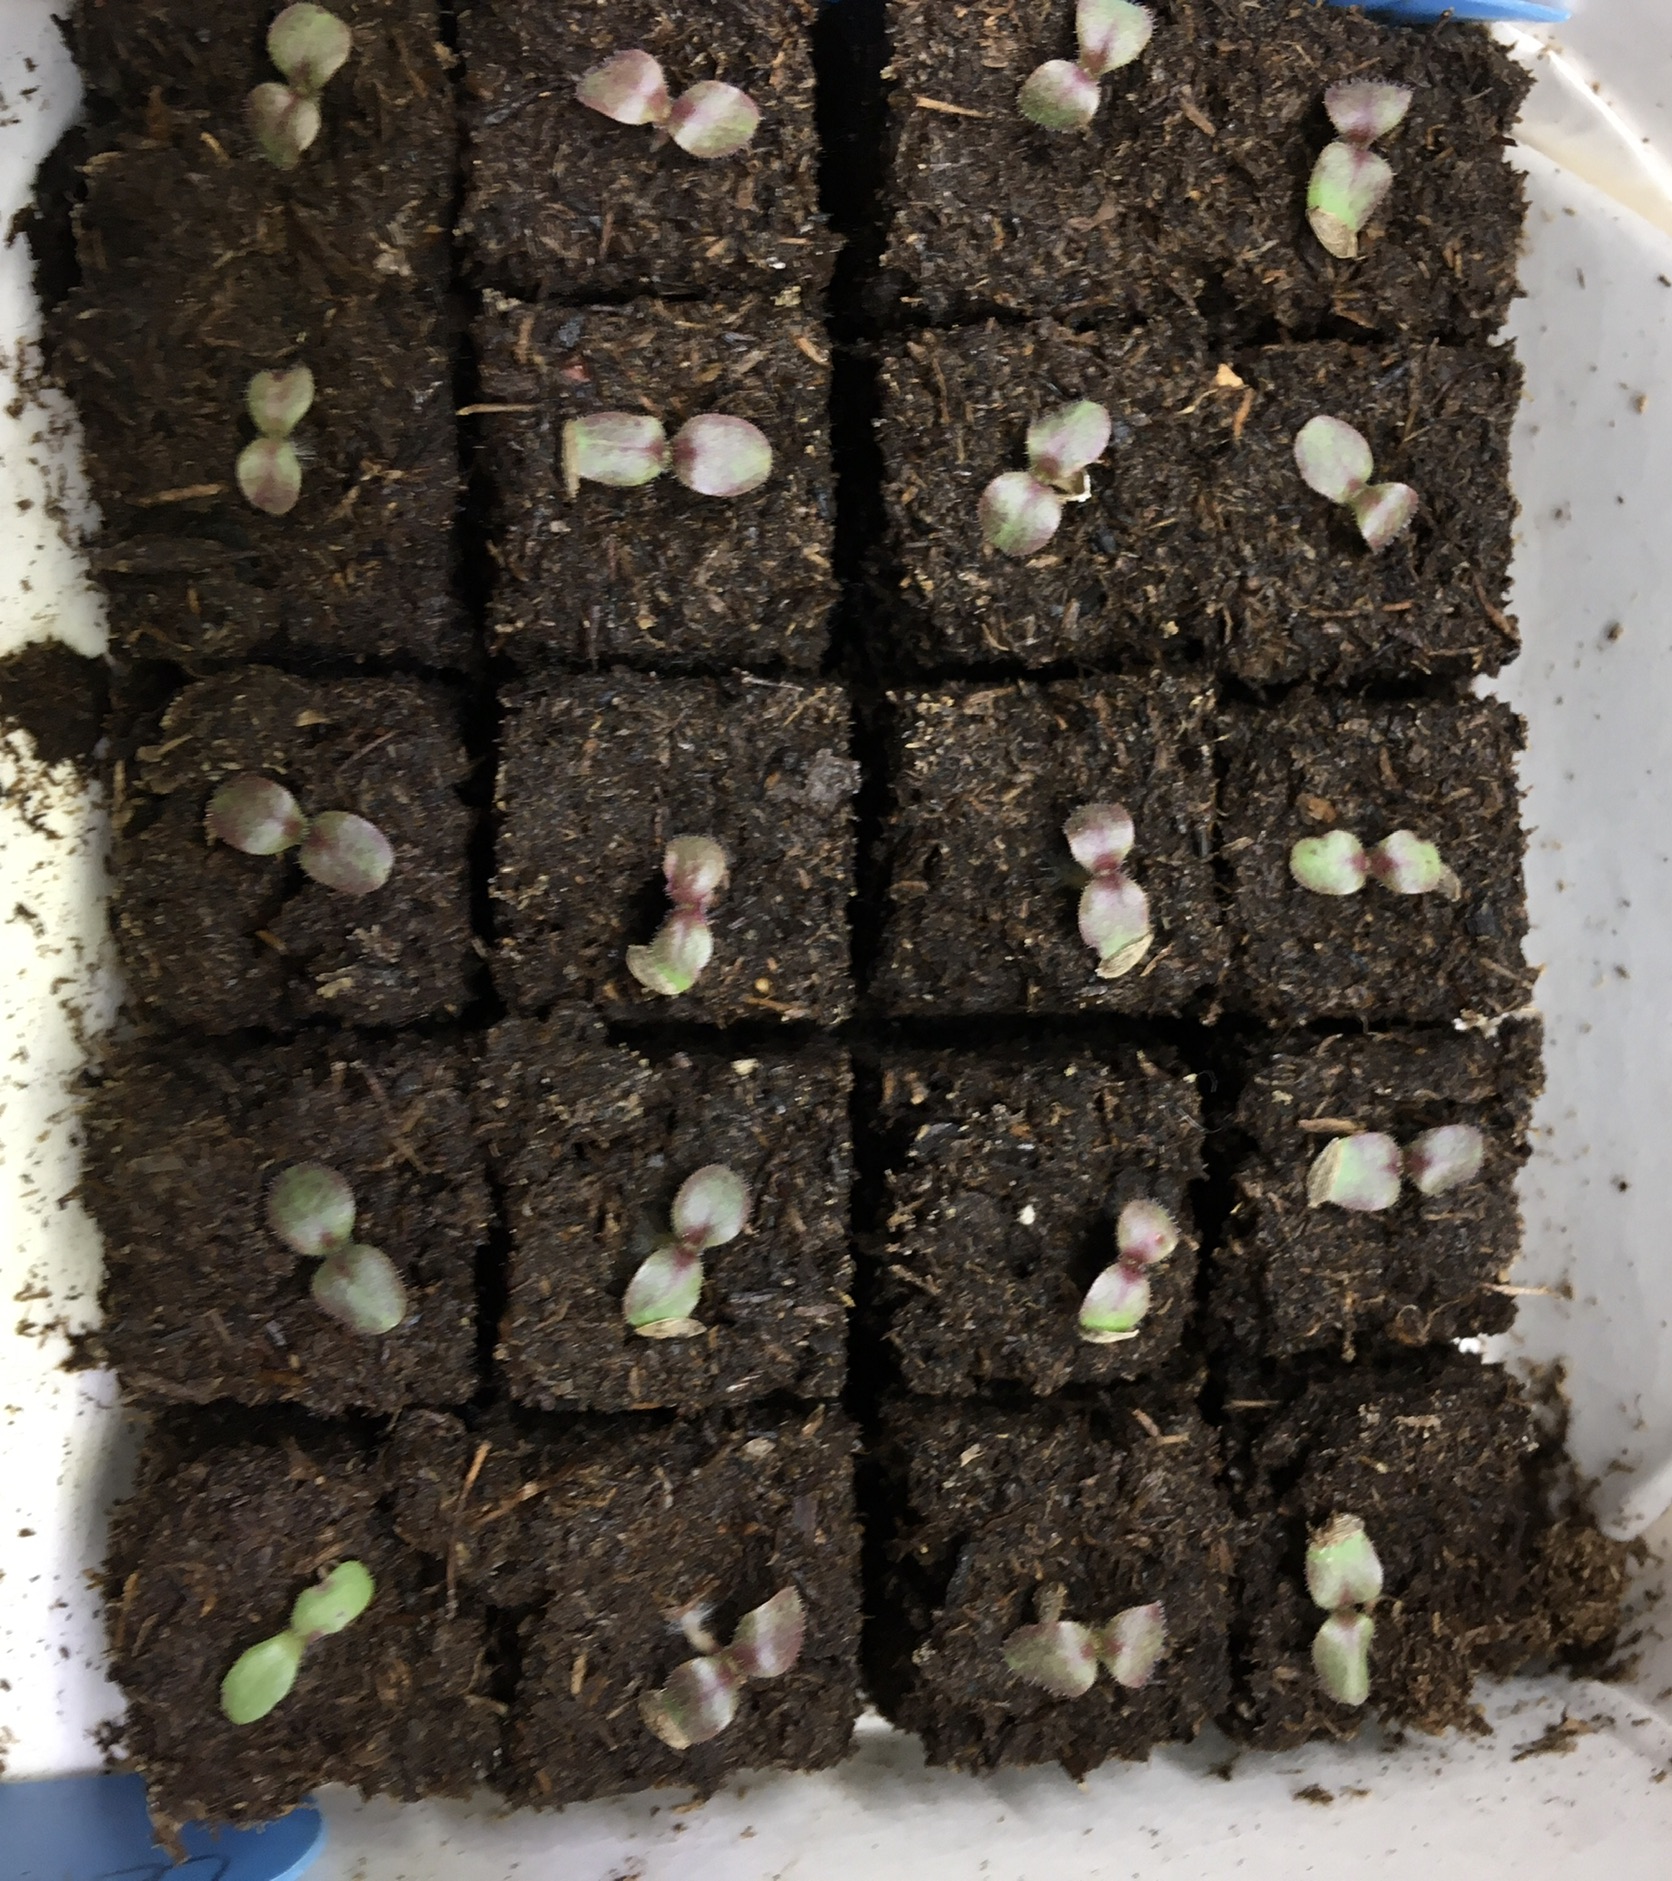
Once the seeds germinate, you can immediately transplant them. Hold the sides of the cube, being careful of the root.
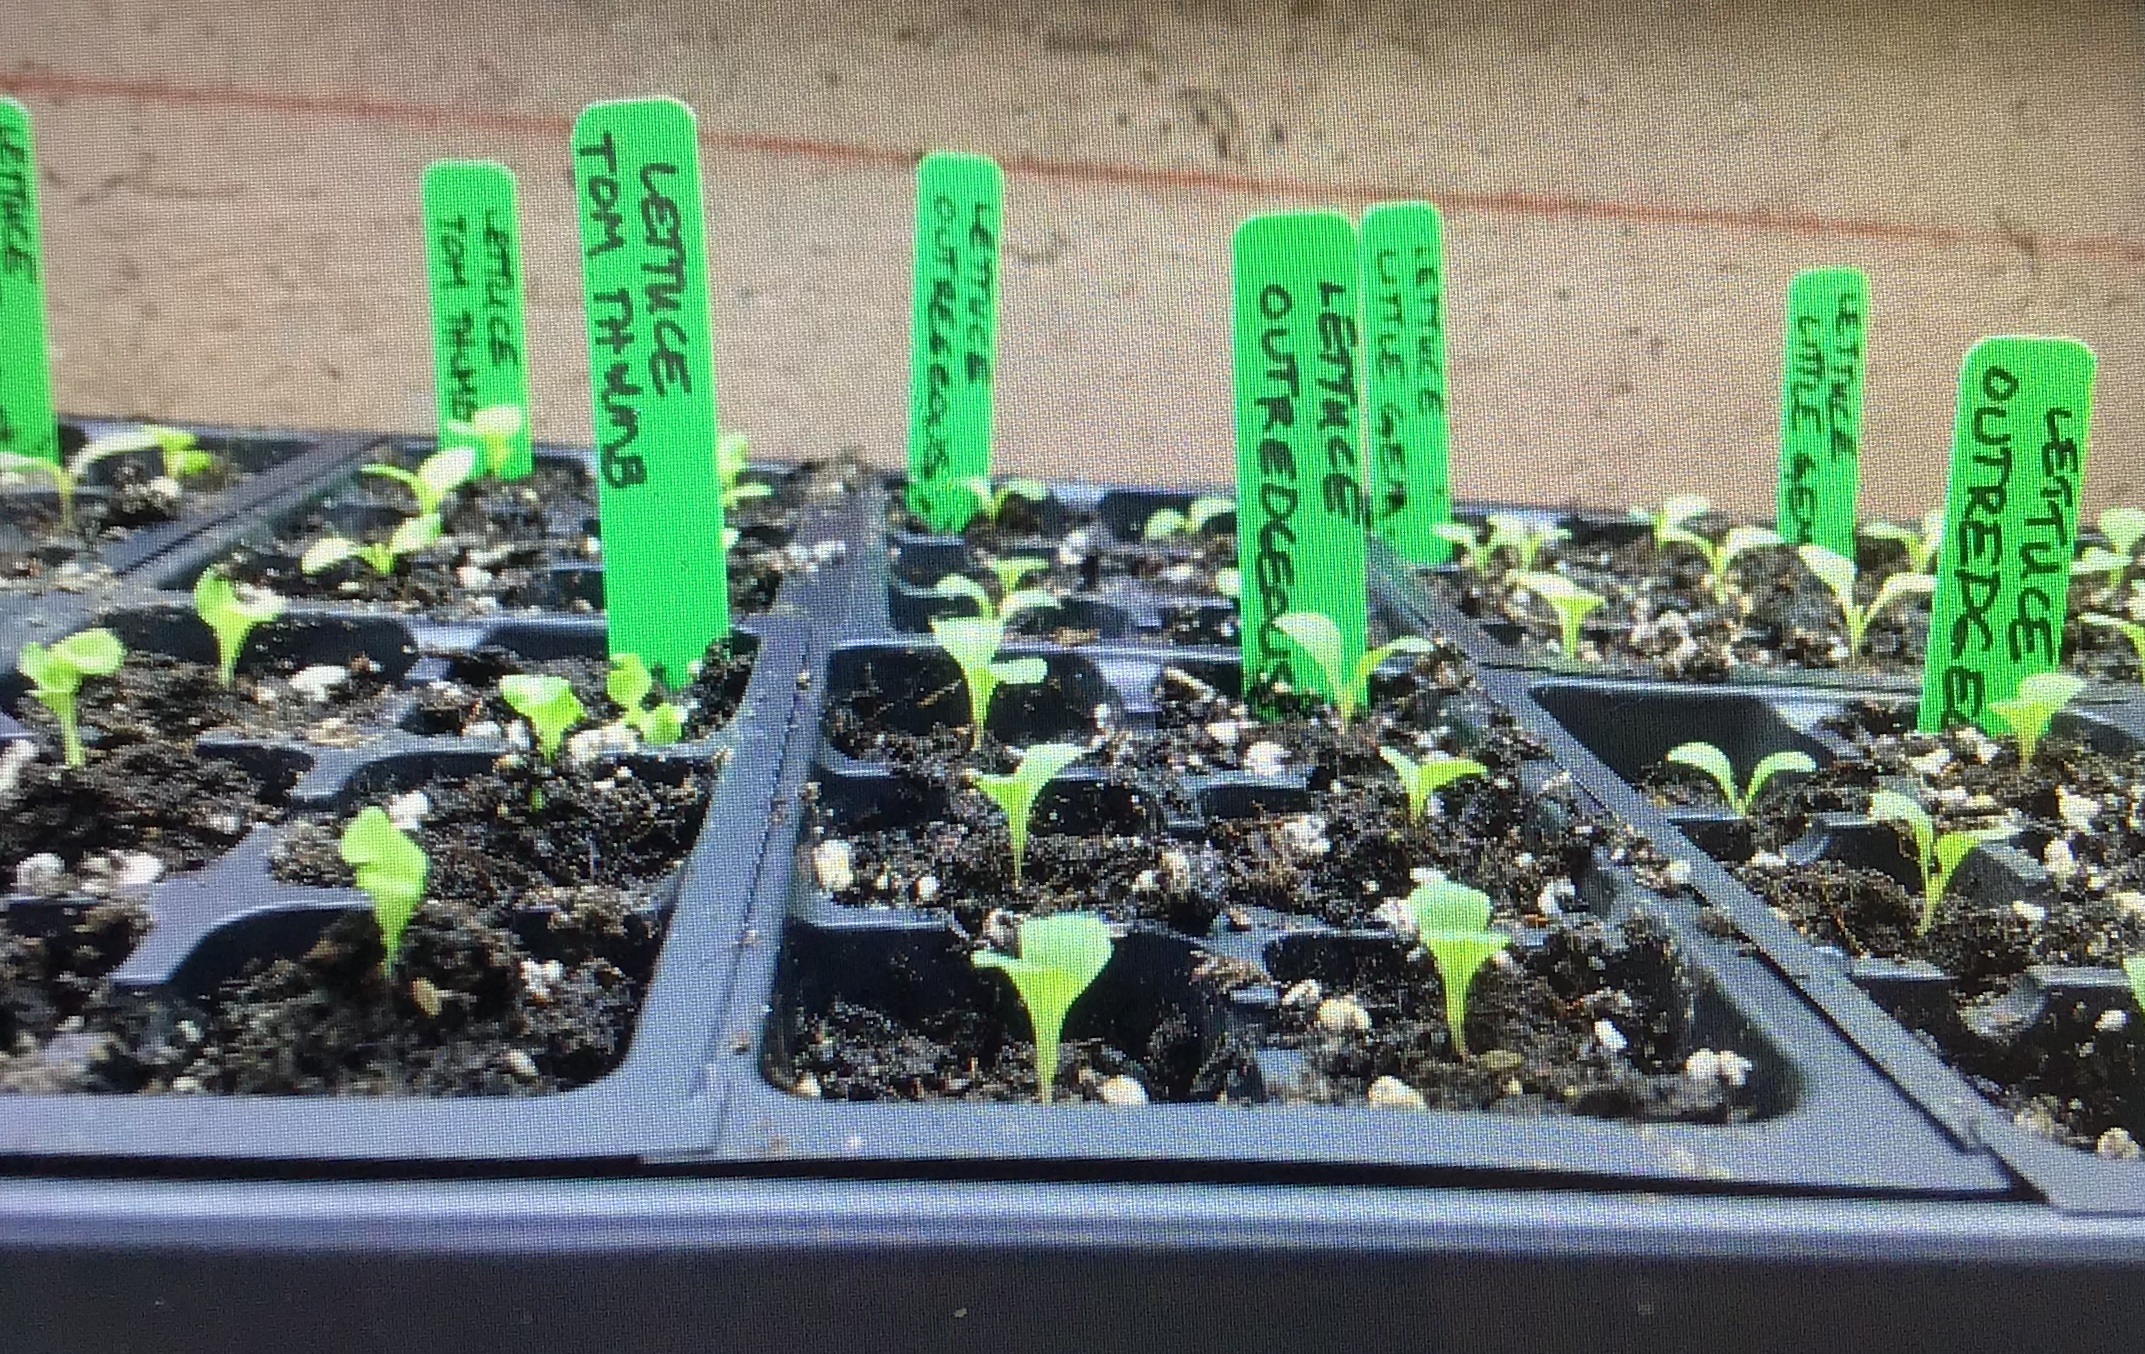
You can transplant into 6-packs to grow on for awhile, until you transplant them into larger pots or directly into the garden.
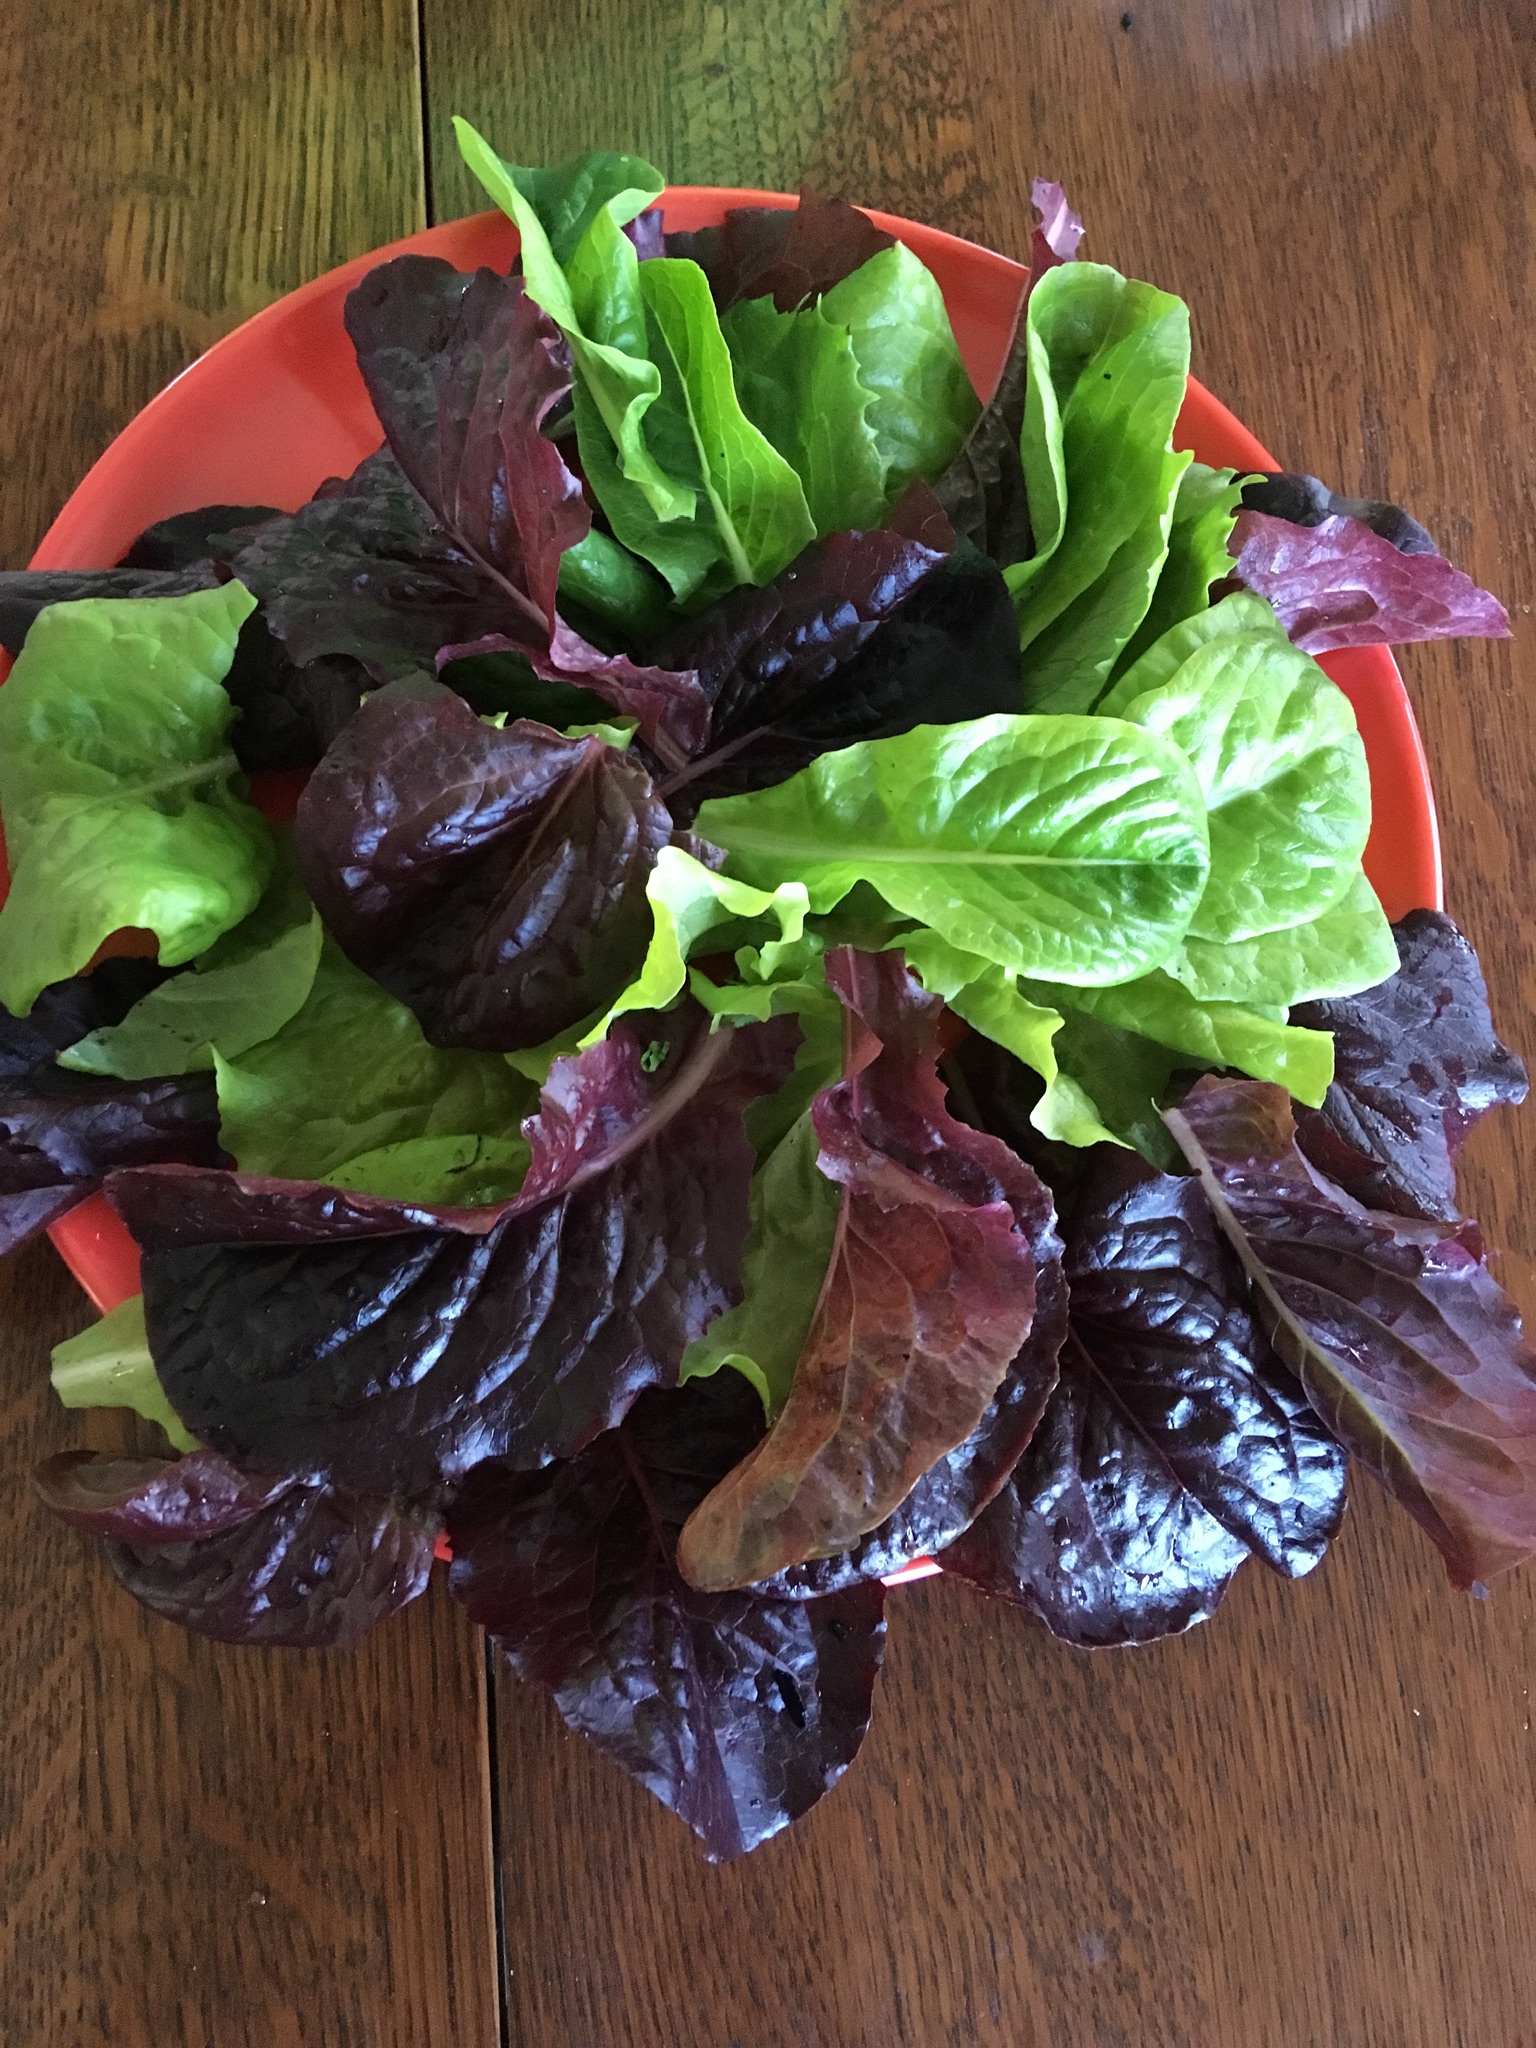
Enjoy your harvest!
About the Author:
My name is Diane O’Neill and I garden in Seattle, Washington. In addition to my vegetable and flower gardens at home, I have a plot at a neighborhood community garden where I lead the effort to produce food to donate to local food banks. Two gardening authors that have changed the way I garden are Eliot Coleman, The New Organic Grower (where I first learned about soil blocks) and Mel Bartholomew, All New Square Foot Gardener.


